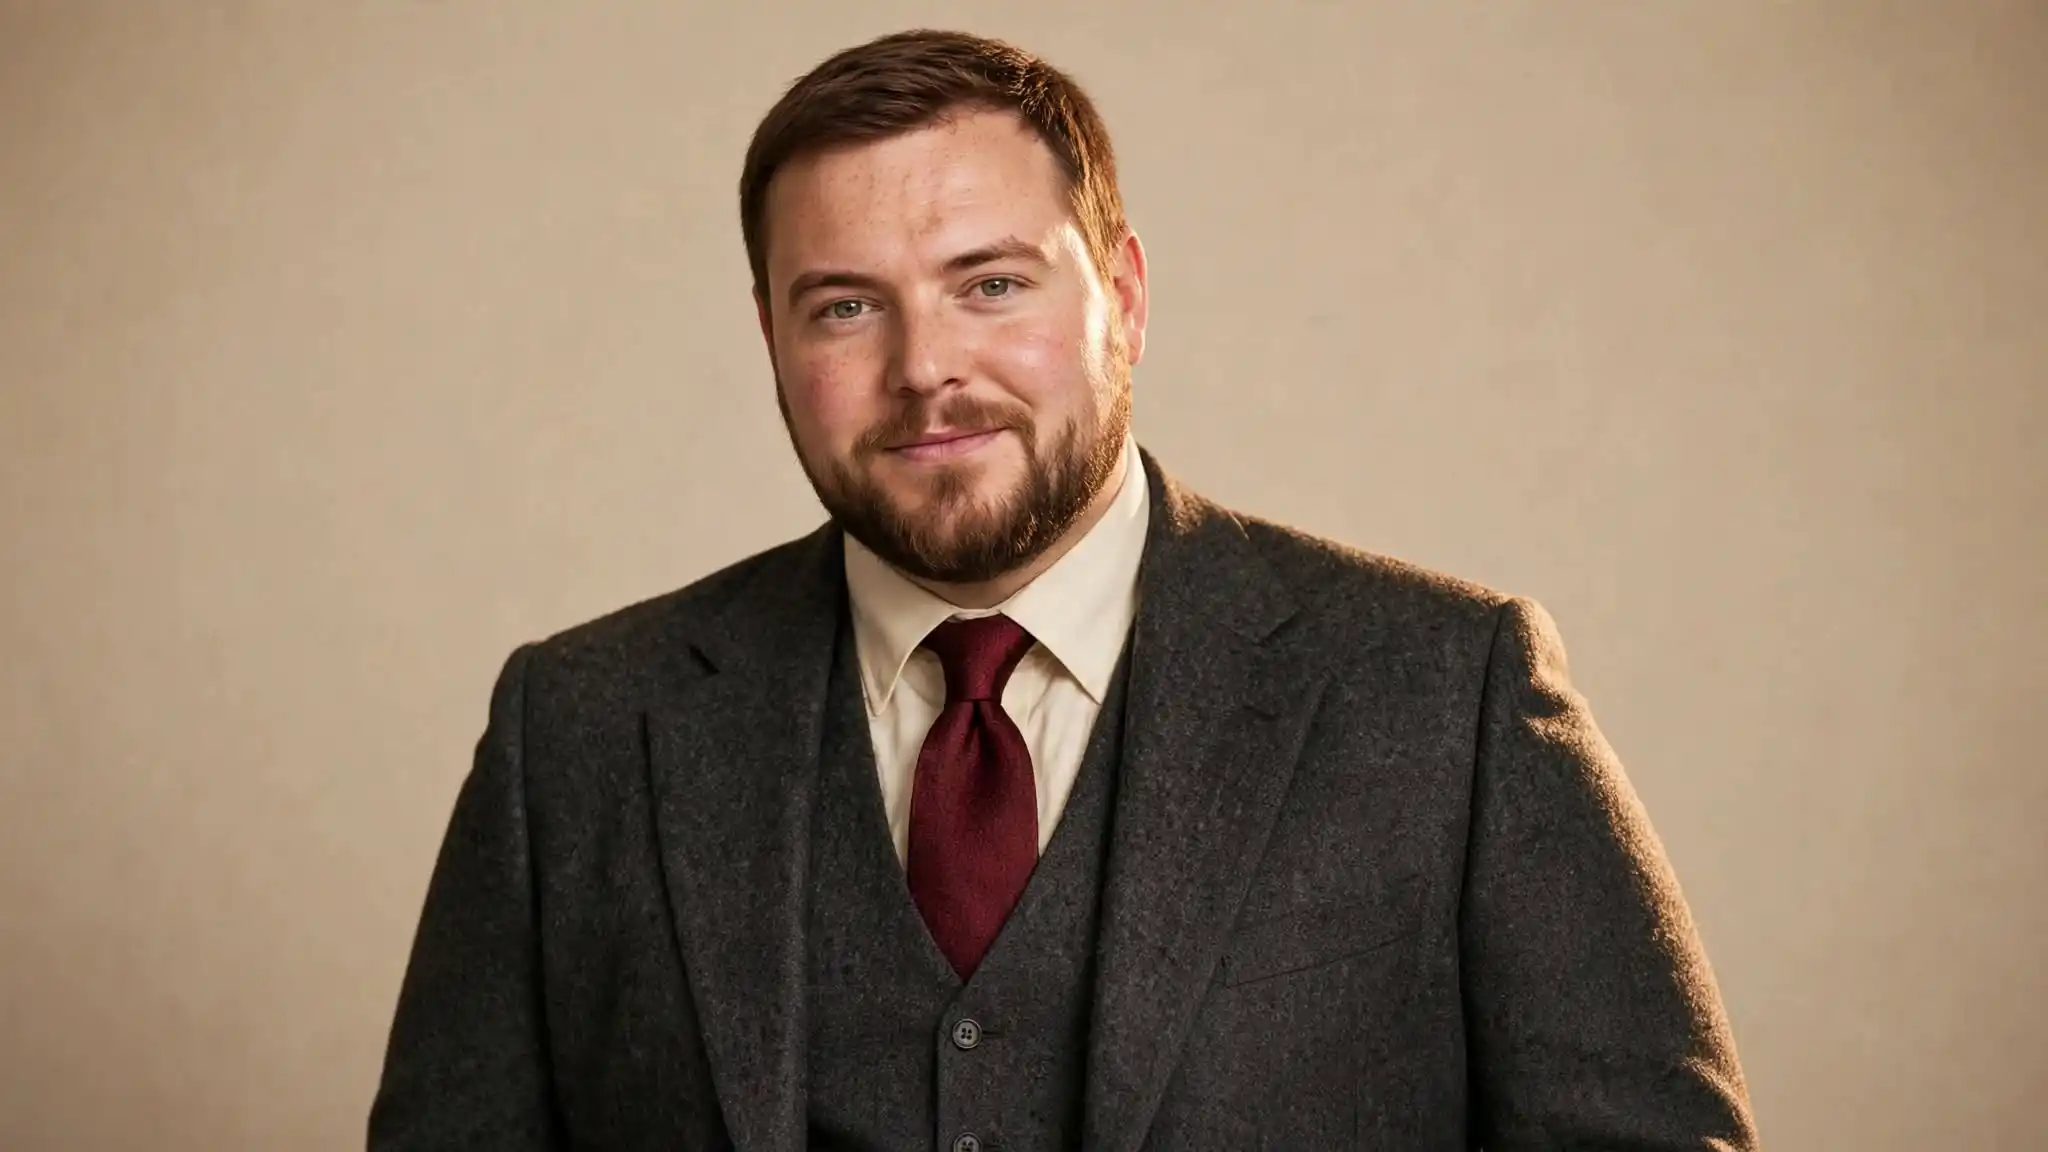
Most grooms spot the problem in a photo, weeks after the wedding. The tie stops four inches above the belt buckle.
Nobody mentioned it on the day. But there it is in every full length shot, and now you cannot stop seeing it.
This happens because almost every piece of advice about plus size groom accessories assumes a body you do not have.
Standard ties run 57 to 59 inches and are cut for men up to about six foot two. Standard suspenders come up short. Standard vests ride up and gap at the buttons.
None of that is a problem with you. It is a sizing default that stopped matching real bodies a long time ago, and every single one of these has a fix with a number attached to it.
So here is how to accessorize as a plus size groom without guessing: five measurements to take first, the exact tie and bow tie sizes to order, why braces beat a belt, how to scale small details to a bigger frame, what to look for when you shop big and tall, and an eight week ordering plan.
One thing before we start. None of this is about looking smaller. It is about owning things that are the right size for you, which is a different goal and a much easier one to hit.
Why Most Groom Style Advice Misses Bigger Guys

The average American man has a waist of roughly 40 inches and weighs close to 200 pounds. That is the middle of the range, not the edge of it.
Yet most accessory sizing still treats a 40 inch waist as the far end of the chart. That gap is why the same five things go wrong at nearly every wedding.
Here is what you probably recognize:
- The tie ends well above the belt buckle, so the shirt looks exposed
- The vest pulls into an X shape across the buttons
- The belt rolls or digs in, and the shirt works loose by the second dance
- A small watch looks lost on a wider wrist
- Standard width shoes ache by hour six
Good clothes do not make you look like a smaller man. They change the first impression from sloppy to solid, and that comes down to scale, not concealment.
That is the whole idea behind this guide. Everything below is a number, a measurement, or a specific thing to ask for. No vague advice about colors that “work for your shape.”
Take These 5 Measurements Before You Buy Anything
Here is the part nobody writes about, and it saves the most money.
“Big and tall” is a marketing label, not a measurement. It means something different at every brand, so shopping by category name is a coin flip.
Take these five numbers once. Use them for every purchase after that.
| Measurement | How to take it | What it decides |
|---|---|---|
| Neck | Around the base of your neck where a collar sits, with one finger of room | Shirt collar size and whether you need extended shirting |
| Natural waist | The narrowest point above your hip bone, not where your trousers currently sit | Whether braces or a belt suits you, plus trouser rise |
| Suspender span | From the front waistband, over your shoulder, down to the back waistband | Whether standard suspenders will actually reach |
| Wrist | Just past the wrist bone, snug but not tight | Watch case size |
| Foot width | On a shop sizing plate, late in the day, in dress socks | Whether you need D, E, EE, or EEE width |
Three things that make these numbers more accurate:
Measure in the afternoon. Your feet and waist both swell through the day. Your wedding runs into the evening, so measure when your body matches the conditions.
Get someone else to take the suspender span. Reaching over your own shoulder always gives a short reading. Always.
Save all five in your phone notes. You will need them across six or seven separate shopping sessions, and you will not remember them.
Now let us fix the thing you will see in every photo.
How to Fix the Short Tie Problem
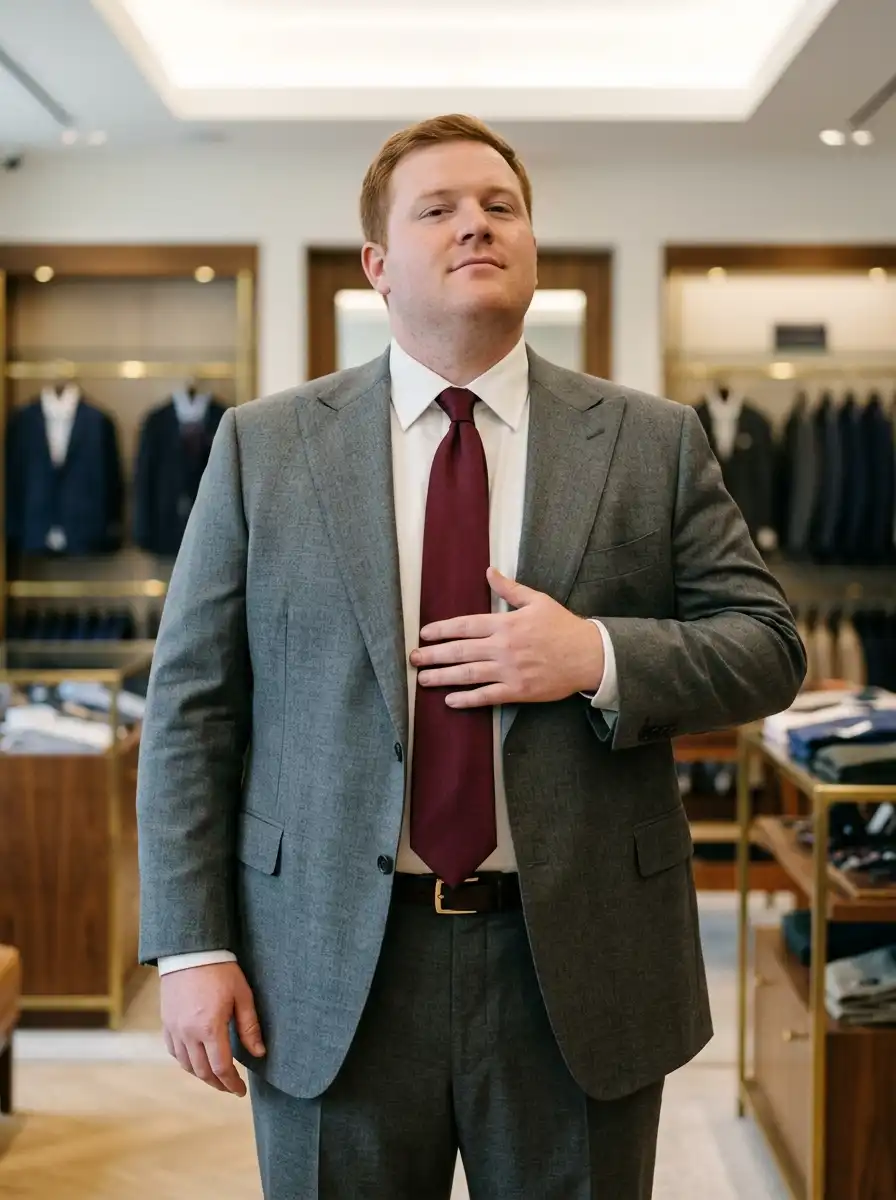
A tie should finish at the center of your belt buckle. Not above it. That single rule drives everything in this section.
Order Extra Long Ties From the Start
Standard neckties run 57 to 59 inches. They fit most men between five foot and six foot two, and they run out fast on anyone outside that range.
Extra long ties usually run 61 to 63 inches. Some specialist makers go up to 71 inches if you need the extra room.
Here is what most guides get wrong. Height is not the only thing that eats tie length. Your neck size and your knot both pull inches off the drop, which means a six foot man with a 19 inch collar can still need an extra long tie.
So order extra long by default. A tie that runs slightly long can be fixed in two minutes. A short one cannot.
Pick Your Knot on Purpose
A full Windsor uses noticeably more fabric than a simpler knot. If your tie runs marginally short, switching to a smaller knot buys back real length.
But a fuller knot also balances better against a wider collar and a broader face. If you want that look, buy the extra length to pay for it.
Bow Tie and Width Numbers
Pre tied bow ties usually come in around 20 inches. Sizes made for bigger and taller men run 22 to 23 inches.
For a self tie bow, check the band’s maximum adjustment against the neck measurement you took earlier. Most bands stop short of a 19 inch neck.
Tie width matters too. A 2.25 inch skinny tie looks undersized against a wide chest. Aim for 3.25 to 3.75 inches and match it roughly to your lapel width.
Tip for your groomsmen: when you order ties for the group, get 5 to 10 percent of the total in extra long. Almost every wedding party has at least one big or tall guy, and nobody thinks of this until the morning of the wedding.
The tie is the fix people see. The next one is invisible, and it matters more.
Why Braces Beat a Belt for Bigger Guys
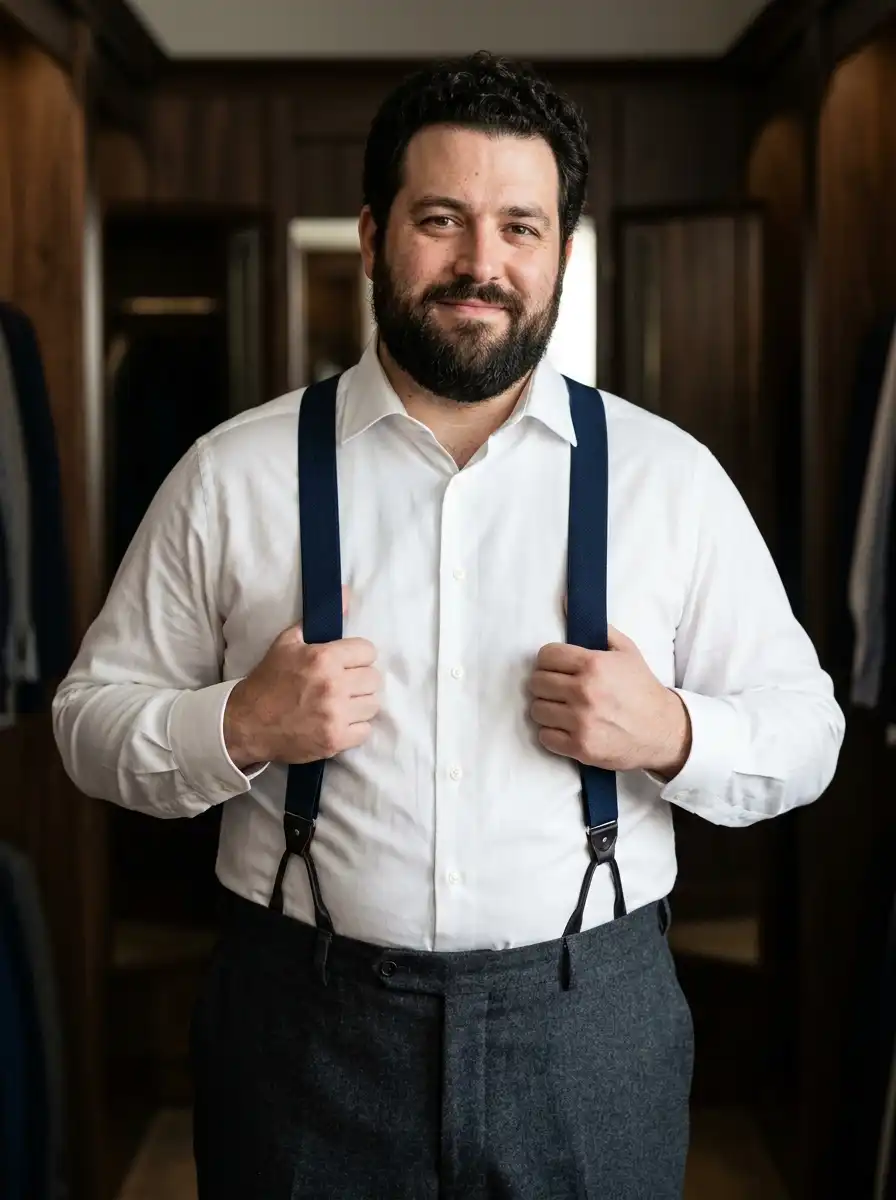
Think about what a belt actually does. It uses compression to hold trousers up, which means it has to cinch tight somewhere below your stomach.
Then you sit down. You stand up. You lean over for a photo. That pressure shifts, the trousers creep downward, and your shirt works its way out of the waistband.
Braces solve this with a different mechanism. They hang the trousers from your shoulders, so the waistband can sit at your natural waist without squeezing anything. The fabric hangs clean instead of straining.
For men carrying weight at the middle, this is the single biggest upgrade available. It costs less than almost anything else in this guide.
Here is how to get it right:
Choose button braces over clips. Clips slip on heavier suiting fabric and leave marks on the waistband. A tailor sews in six buttons for very little money, and many custom trousers include them free if you ask.
Check the trouser rise. Braces are built to hold trousers at or just above your natural waist. A low rise trouser fights them the whole day.
Leave a little room in the waist. Braces work best when the trousers have some comfort room through the waist and hips. Too tight and the fabric pulls instead of draping.
Size them properly. Standard adjustable braces run about 36 to 55 inches unstretched. If you are over six foot, or wear 2X and above, look for the longer version, which usually adds around nine inches. Use the span number from your measurements.
Try the X shaped back. The Y shaped back is standard, but an X back spreads the load across a wider back. If the Y pulls at your neck, switch.
Go with 1.5 inch straps. Half inch skinny straps look undersized against a broad chest. Width should match your frame.
One rule with no exceptions: never wear braces and a belt together. Pick one.
Six buttons at a tailor cost a fraction of a new garment and fix more problems than any purchase you could make. Now, what goes over them.
Vest, Cummerbund, or Nothing? How to Pick
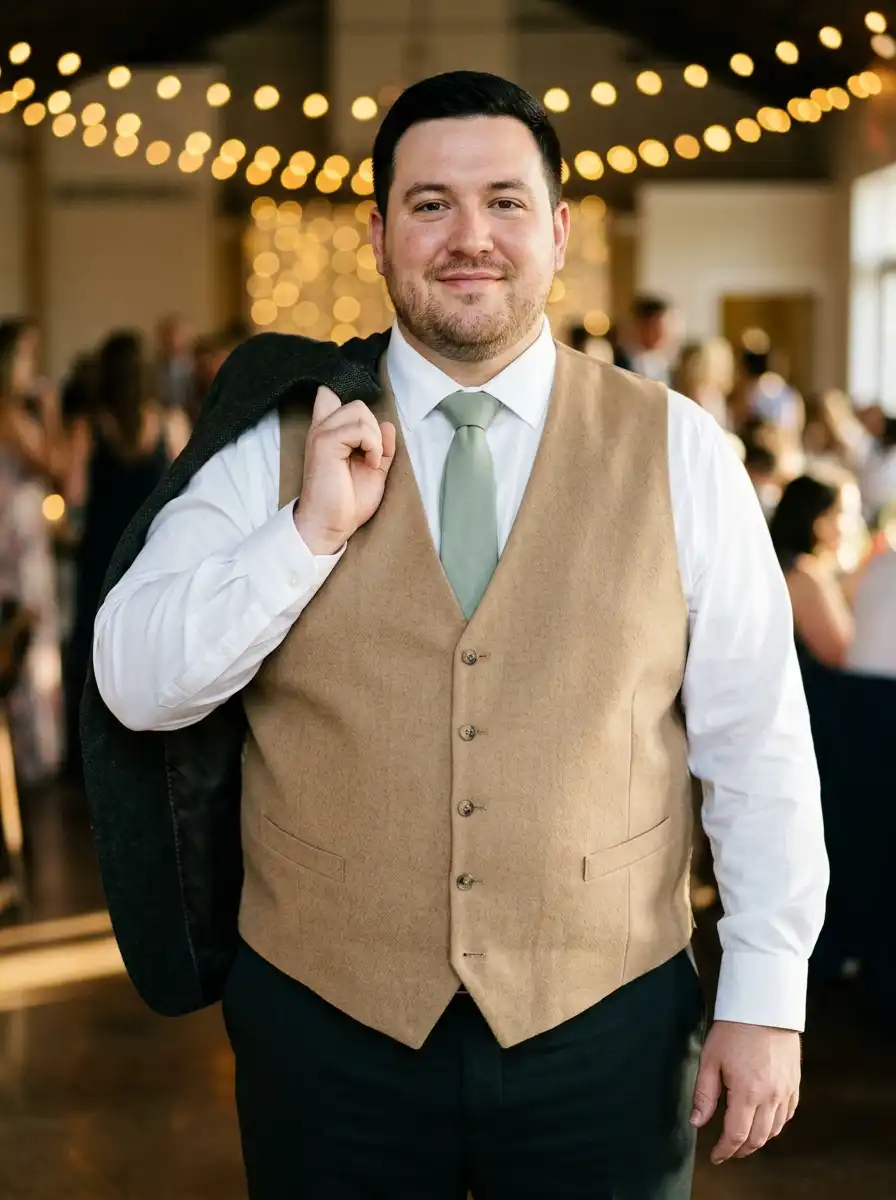
Both a vest and a cummerbund do the same job. They cover the spot where your shirt meets your trouser waistband, which is the messiest looking part of any formal outfit.
Here is the honest trade off.
A vest gives you more. It covers more area, adds structure down the front, and creates one long clean line. The real argument for it is simpler than that though: your jacket is coming off at the reception. Everyone’s does. With a vest, you still look finished in shirt sleeves. Without one, you are standing there in a dress shirt and braces for four hours of photos.
A cummerbund keeps you cooler. It is one layer instead of a full extra garment. For a summer wedding or a long reception, that is a genuine comfort difference, and it is the traditional choice for black tie. Wear it with the pleats facing up.
Never wear both. A vest already covers the waistband. Adding a cummerbund under it just creates bulk.
The Fit Test That Catches the Most Common Mistake
A vest should lie flat with no pulling across the buttons, and it should sit long enough that no shirt or belt shows below it.
If you see an X shaped pull radiating from the buttons, the vest is too small. Rental packages get this wrong constantly.
The fix is counterintuitive. Size up, then have the back strap taken in. A vest that fits across the front and is adjusted at the back looks sharp. A vest straining at the front never does, no matter what else you change.
There is a third option: trousers with a finished waistband and no covering at all. It can work, but it leaves the trouser button visible and plenty of people still read it as unfinished. If you are unsure, pick the vest.
The large pieces are sorted. The small ones are where most guys undershoot.
How to Scale the Small Details to Your Frame

One principle covers this entire section: every detail should be proportional to your actual body. A larger man can carry wider details than a smaller man, and should.
Small accessories on a big frame do not look modest. They look like a mistake.
Lapels. Aim for roughly 3.5 to 4 inches on a notch lapel. Then match your tie width to it. A wide lapel with a skinny tie is the most common mismatch in wedding photos.
There is a real split among stylists on double breasted jackets for bigger men. Some say stay single breasted to keep the front clean. Others argue a double breasted jacket brings a kind of presence that suits a larger frame. Try both on. This one genuinely comes down to your shoulders and your preference, not a rule.
Pocket square. A bigger chest means a bigger visible pocket area. A 16 or 17 inch square fills it properly where a 12 inch square disappears. A flat straight fold reads cleaner at this scale than a loose puff.
Boutonniere. Scale it to the lapel. One small bloom vanishes on a four inch lapel. Two or three stems with a little greenery holds the space. Pin it through the lapel buttonhole so it sits flat instead of floating, and carry a spare pin in your pocket.
Watch. The case should take up roughly 60 to 75 percent of the flat top of your wrist. In practice, a wrist of seven inches or more wants 42mm and up. Past 7.5 inches, go to 43mm or larger. Two extra rules: the strap should be about half the case width, and the lugs should not hang past the edge of your wrist.
Tie bar. Make it about three quarters the width of your tie. Never wider than the tie itself.
Cufflinks and French cuffs. Check the cuff circumference, not just the sleeve length. Larger forearms need the opening measured, and this is the detail that ruins an otherwise correct shirt order.
Stick to one metal. Pick silver tone or gold tone, then keep your watch, ring, cufflinks, and tie bar in the same family. It is the easiest way to make separate pieces look like one deliberate outfit.
Which leaves the part you will feel most by midnight.
Shoes, Socks, and Making It Through the Whole Day
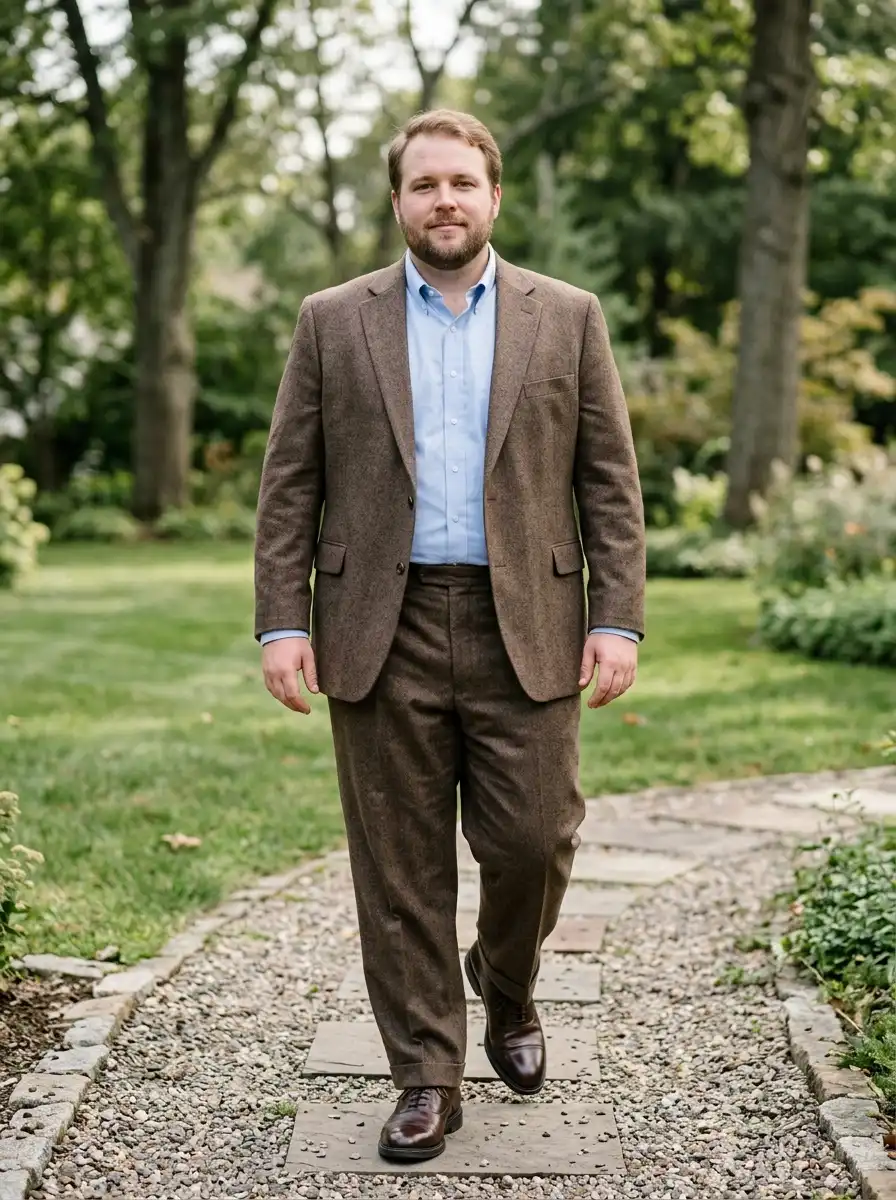
By hour ten you will have been standing, walking, and dancing in the same shoes since morning. More body weight over the same foot area means this hits harder, and it is the thing grooms complain about most afterward.
Use the width options. D is standard. E, EE, and EEE exist and most men never try them. Plenty of dress shoe brands make all three, and many rental companies stock wide sizes too.
Width, not length. If you habitually size up in length just to get room across the ball of your foot, you do not need a longer shoe. You need a wider one. Getting measured properly takes five minutes and fixes years of this.
Replace the insole. The insole that comes in most dress shoes is a thin piece of board. Swapping it for a supportive one is the cheapest comfort upgrade in this entire guide.
Break them in over two to three weeks. A few hours at a time, around the house. Not the night before.
Match the sole to the venue. Leather soles on wet grass are genuinely slippery. For an outdoor or garden wedding, get a rubber sole.
Go over the calf with socks. No skin should show when you sit down, and you will be sitting for most of the reception and all of the dinner photos. Check your calf measurement too, because standard over the calf socks cut in uncomfortably on a larger calf. Wide calf dress socks exist.
Pack a second pair of socks. Small thing. Big difference by hour nine.
So where do you actually buy all this, and when.
When to Order Everything: Your 8 Week Plan
A few things to know before you shop.
Rental companies now carry much wider ranges than they used to, with jackets running into the 60s and trousers reaching a 60 inch waist or more. If you prefer to buy, several wedding focused brands cover extended sizes and give the groom a free suit when enough of the party orders together.
For accessories, specialist tie and suspender shops are far better stocked than department stores. They publish actual inch measurements instead of size labels, which is exactly what you need.
But the best value is not a retailer at all. It is a local tailor. Six braces buttons and a vest back adjustment cost very little and fix more than any purchase.
Always open the brand’s own size chart and compare it to your five numbers. Never trust the category label.
Here is the schedule that keeps this calm:
- 10 to 12 weeks out. Take your five measurements. Book or order the suit or tuxedo.
- 8 weeks out. Order ties in extra long, braces sized to your span, and a bow tie at 22 or 23 inches. Buy shoes in the correct width.
- 6 weeks out. First fitting. Ask the tailor to sew in braces buttons and take in the vest back strap.
- 4 weeks out. Full dress rehearsal. Put everything on, sit down, raise both arms, and photograph yourself from the front and side. Fix whatever the photos show.
- 2 weeks out. Final alterations. Keep wearing the shoes in.
- 1 week out. Steam everything. Pack a small kit: spare collar stays, safety pins, an extra boutonniere pin, and that second pair of socks.
That dress rehearsal in week four is the step people skip, and it is the one that catches everything. A photo shows you what a mirror hides.
Quick Answers
Plus Size Groom Accessories
Four questions grooms ask most, answered in a sentence or two. Tap any card to open it.
The tip should land at the center of your buckle
Order extra long, 61 to 63 inches, as your default. Standard ties stop at 57 to 59 inches, and your neck size plus the knot both eat length before the tip ever reaches your buckle.
No. Aim for 3.25 to 3.75 inches and match it to your lapel width. Small details on a broad chest read as a mismatch, not as understatement.
Braces, every time. They hang trousers from your shoulders instead of squeezing your waist, so nothing shifts and your shirt stays tucked. Choose the button on kind, never clips.
You likely need width, not length. Try E, EE, or EEE instead of sizing up. Then swap the thin factory insole for a supportive one and break the shoes in over two to three weeks.
Measure once. Order right. Enjoy the day.
Wrapping It Up
Three decisions carry most of the weight here.
Order your ties in extra long from the start, at 61 inches and up. Swap the belt for button braces and have a tailor sew the buttons in. And take those five measurements before you spend a single dollar.
Everything else is a smaller version of the same idea. Scale the piece to the man wearing it, and it works.
The goal was never to look like a smaller guy on your wedding day. It was to have clothes that are the right size for the one you are, and that is a far easier thing to pull off.
Start with the five measurements this week. Put them in your phone, then go shopping with numbers instead of hope.