You have looked at yourself in that suit about forty times now. You still have no idea what the camera is going to do to you.
That is the real worry. Not the day. The photos that outlive it. The ones that go on a wall, into your mother’s hands, and onto every screen in the family for the next thirty years.
So here is how to look slim in wedding photos as a bigger groom. No crash diet. No sucking in. No hiding at the back of every group shot.
None of this is about becoming a smaller man in six weeks. It is about fit, light, angle and posture. Those four things change your wedding photos far more than a few pounds ever would.
You will learn which suit details matter most, what to wear underneath, five poses that work on any body, and the exact words to say to your photographer.
Most of it takes one afternoon. Some of it takes ten minutes in front of a mirror tonight.
Why the Camera Makes You Look Bigger Than You Are

The camera is not telling the truth. That is a technical problem, not a personal one.
Four things work against you in a photo. None of them are your body.
The lens. A phone or a wide lens held close stretches whatever sits nearest to it. On most men standing straight, that is the stomach or the chin.
The angle. Anything closer to the camera looks larger. Stand square on and your widest point sits closest to the lens. Shoot from below and the same thing happens to your jaw.
The light. Flat overhead lighting at a reception kills shadow. Shadow is what gives a body shape. Take it away and everything reads as one wide block.
Your spine. Slouching does more damage than weight. A rounded back shortens your torso and pushes your belly forward.
Picture the same man, in the same suit, photographed twice, five minutes apart. The first shot comes from hip height, close up, under flat light, with him facing straight ahead. The second comes from eye level, further back, with light falling across one side of him, and his body turned.
Same body. Two different men.
Four things made that first photo. You have a say in all four. Start with the one that takes longest to fix.
Your Suit Does Most of the Work

If you fix one thing on this page, fix the suit. Nothing else comes close.
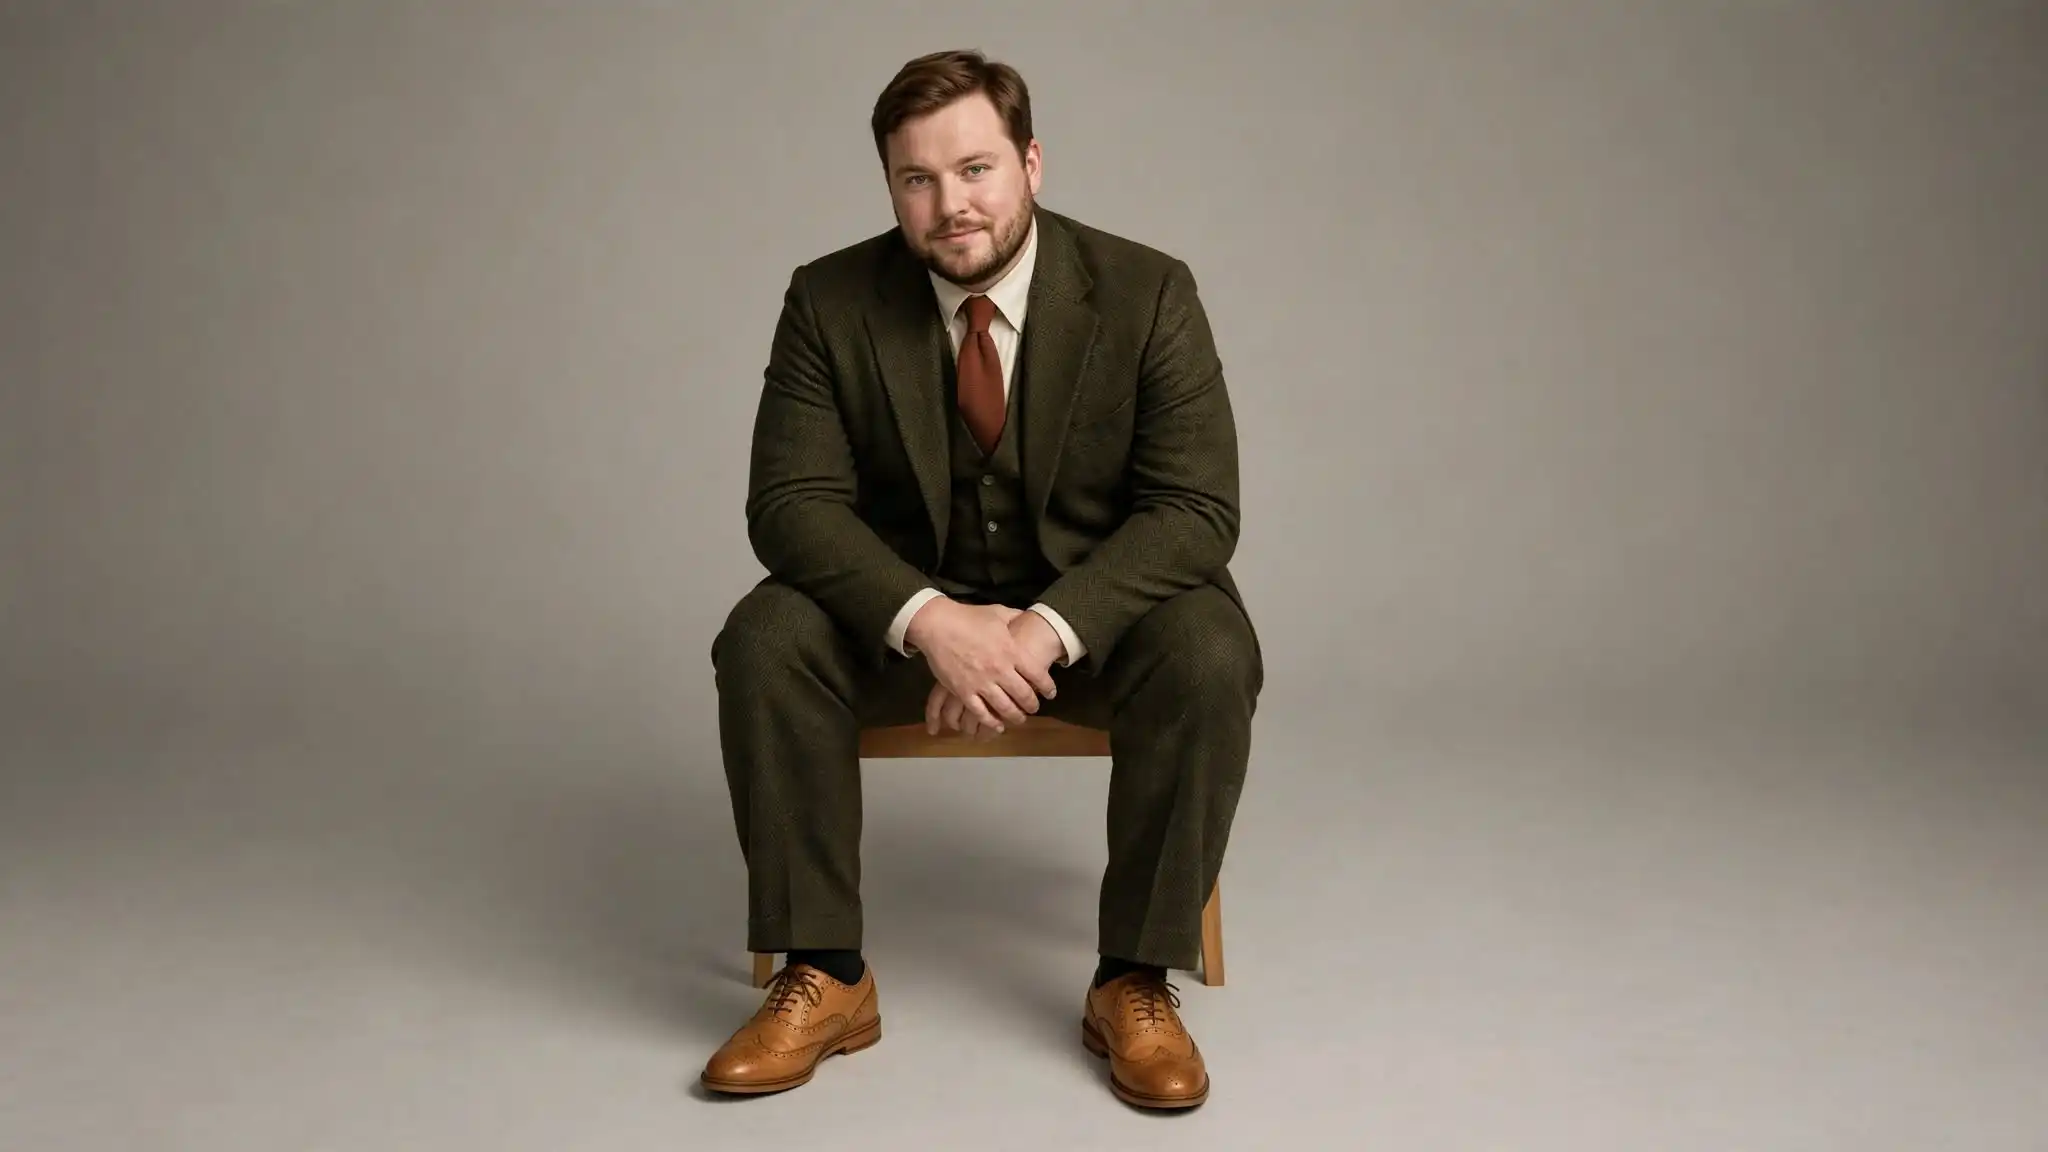
Here is the part most men get wrong. A looser jacket does not hide anything. It just adds a size. The suit that makes you look smaller is the one cut to the body you actually have.
Work down the body.
- Shoulders decide everything. The jacket seam should end where your shoulder bone ends. Too wide and you read as square and heavy. No alteration fixes this later, so check it first.
- The button sits at your natural waist. That is at or just above your navel. A button placed too low makes your legs look short and lets your stomach sit below the closure.
- Single breasted, notch lapels. Double breasted jackets add width across the front and tend to pull open when you sit.
- Mid width lapels, about 3.5 inches. Very thin lapels make your chest look wider by contrast. Very wide ones take over.
- Side vents, not one centre vent. A centre vent splays open over a fuller seat every time you move.
- Add the waistcoat. A three piece smooths your middle, covers the shirt bunching at your waistband, and draws one unbroken dark line from collar to trousers. It is the cheapest visible upgrade you can make.
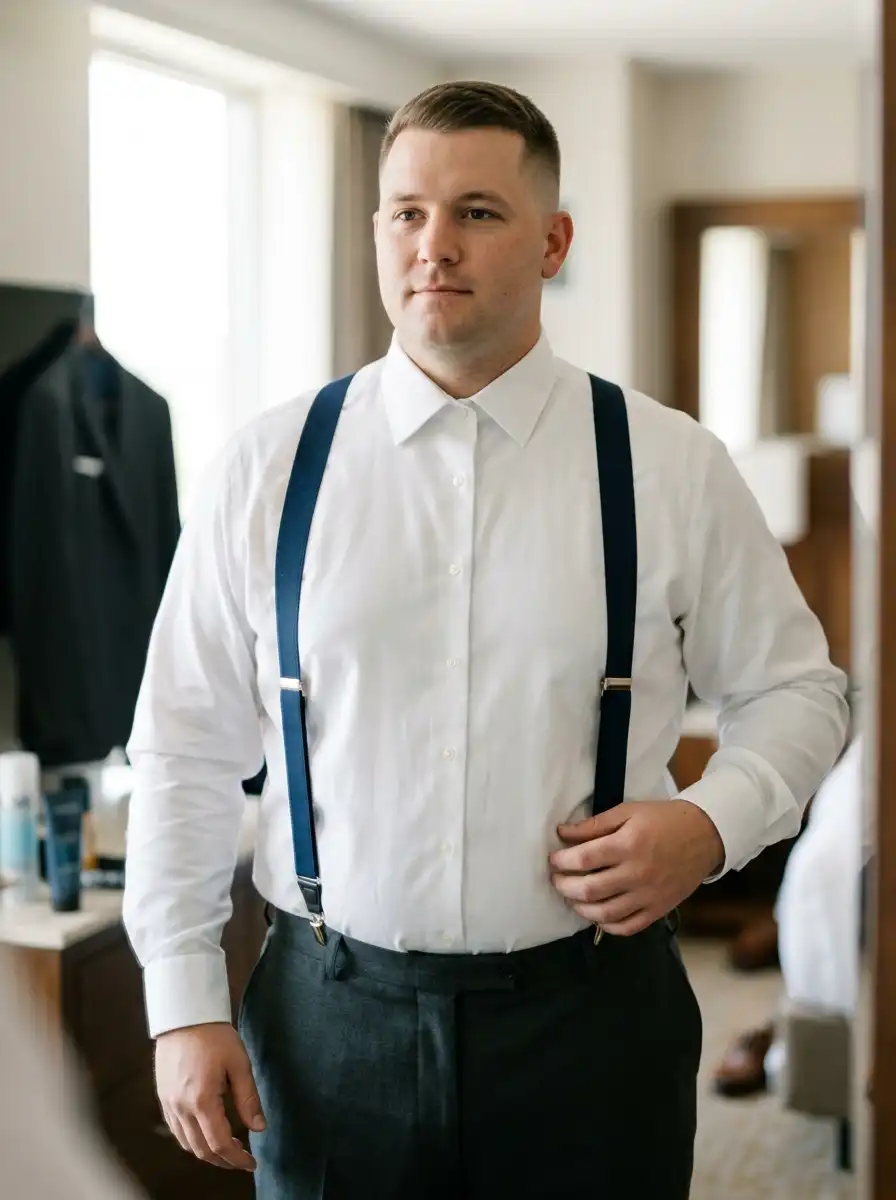
- Braces, not a belt. A belt cuts you in half across the middle and slides down all day. Braces hold the trousers at your natural waist and stay there.
- Trousers that sit on your waist. Worn under the stomach, they create a visible roll above the band. Pleats give you room to sit without the fabric straining.
Then the fabric and the finishing details.
| Pick this | Skip this |
|---|---|
| Navy, charcoal or deep green, solid and matte | Shiny fabric, bold windowpane, wide chalk stripe |
| Heavier cloth that hangs away from the body | Thin cloth that clings and shows every contour |
| A classic collar | A wide cutaway collar, which widens your face |
| A medium tie knot | A big knot, which does the same thing |
| A long tie that reaches your waistband | A regular tie that stops halfway down |
One more thing worth knowing. Suits bought off the rack scale every measurement together. Order up for your chest and you also get sleeves and a body length built for a taller man. Made to measure solves that, and it costs less than most grooms expect.
Book this first. Fittings and alterations run six to eight weeks.
The suit handles the outside. Now the layer underneath.
What Goes On Under the Suit
Shapewear is not a secret. Plenty of grooms wear it. It just has to be the right kind.
- A seamless compression vest smooths your chest and middle. Buy two sizes and try both. The right one feels firm, never tight.
- Heavy seams ruin it. Ridges show through a fitted shirt and undo the whole point. Run your hand over the sides before you buy.
- Test it for a full day. Wear it for six to eight hours about a month out. If it rides up, rolls at the hem, or stops you taking a deep breath, it is the wrong one.
- Pick breathable fabric. Sweat through a shirt and the cloth sticks to you, which reads heavier on camera than the body underneath.
- Get the collar right. You should fit one finger inside the buttoned collar. Two means it is loose, and a loose collar makes a fold under your chin in every head shot.
- Use a military tuck. Fold the spare shirt fabric flat at each side seam and pin it there. It stops the shirt ballooning under your waistcoat.
- Empty your pockets. Phone, wallet and keys all make bulges. Hand them to your best man before photos start.
One rule covers all of it. Shapewear should smooth, never squeeze. If it hurts or leaves you short of breath, it is too small.
And discomfort shows on your face. Your face is in every single photo.
Grooming That Sharpens Your Face and Jaw
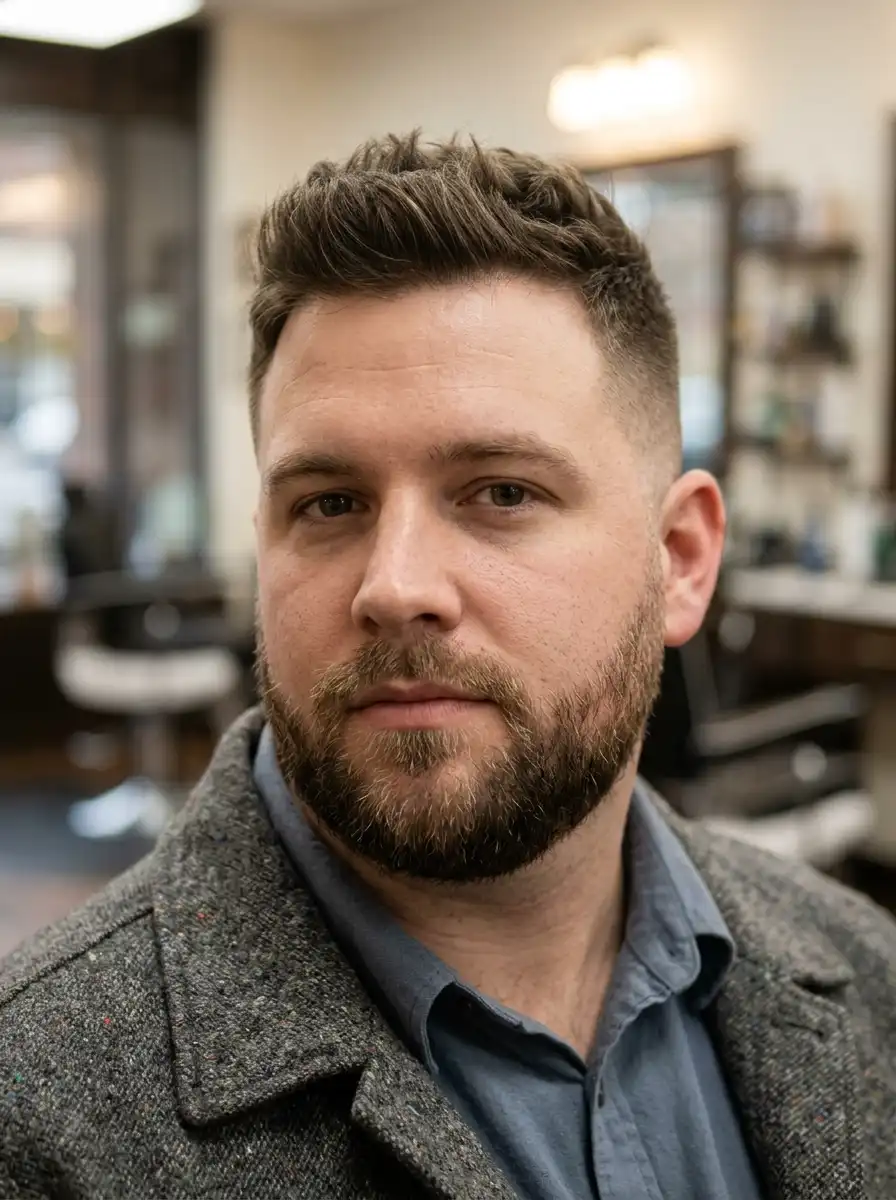
Count the photos you will actually frame. Most of them are your face, not your body.
That makes grooming the highest value hour you will spend all week.
- Build a jawline with your beard. Keep the cheek line clean. Trim the sides shorter than the chin. That adds length to a rounder face instead of width.
- Fix the neckline. The beard should stop about two fingers above your Adam’s apple. Run down the neck and it blurs the line between jaw and throat. Show your barber the two finger mark rather than describing it.
- Add height on top. A little volume up top with tighter sides makes your head read longer, not wider.
- Kill the shine. Use a matte moisturiser with no oil, then blot your forehead, nose and cheeks before photos. Shiny skin catches the flash and fills out your face.
- Book the cut 7 to 10 days out. Not the day before. A fresh cut looks sharper once it settles.
- Sleep and drink water the week before. Puffiness around the eyes and jaw is usually salt, alcohol and short nights. All three are fixable in seven days.
Now the part you can practise tonight, for free.
Five Posing Moves That Change the Photo

Stand up. This bit works better if you try it while you read.
Build the pose from the floor up.
- Turn about 45 degrees. One shoulder toward the camera. Facing straight on makes you widest. Turning fully side on shows the whole outline of your stomach. The angle between the two is where you want to be.
- Put your weight on the back foot. Point the front foot at the camera and let the back leg carry you. Your hips shift back, and your waist looks narrower straight away.
- Push your chin forward, then drop it slightly. It feels ridiculous. It also removes a double chin instantly. If you remember one thing from this page, make it this one.
- Lean your chest in a little. A small lean from the hips brings your shoulders closer to the camera and pushes your middle away. Your top half reads broader and your waist reads smaller.
- Keep your arms off your body. Leave a small gap between your upper arm and your torso. Pressed against you, the arm flattens and widens. Bend the elbow instead.
Two more habits make all five work better.
Give your hands a job. A jacket button, a pocket, your partner’s waist, a drink. Hands with nothing to do go stiff and pull the eye straight to them.
Never suck in. Holding your breath tightens your face, lifts your shoulders, and lasts about four seconds. The photographer always catches the fifth. Breathe out, roll your shoulders back and down, and let the posture do the work.
Group photos
This is where most grooms get let down.
- Stand at the end of a row, not squeezed into the middle.
- Skip the front row when people are kneeling or seated, because then the camera is pointing up at you.
- Angle your body slightly inward, toward the centre of the group.
Sitting down
Most of your candid photos happen at a table, so this matters more than it sounds.
- Sit on the front third of the chair.
- Keep your back off the chair back and lean forward a touch.
- Unbutton the jacket when you sit. Button it when you stand.
You will forget some of this on the day. That is fine. The chin and the turn carry most of the weight on their own.
You have done your half. Here is how to get help with the rest.
What to Tell Your Photographer
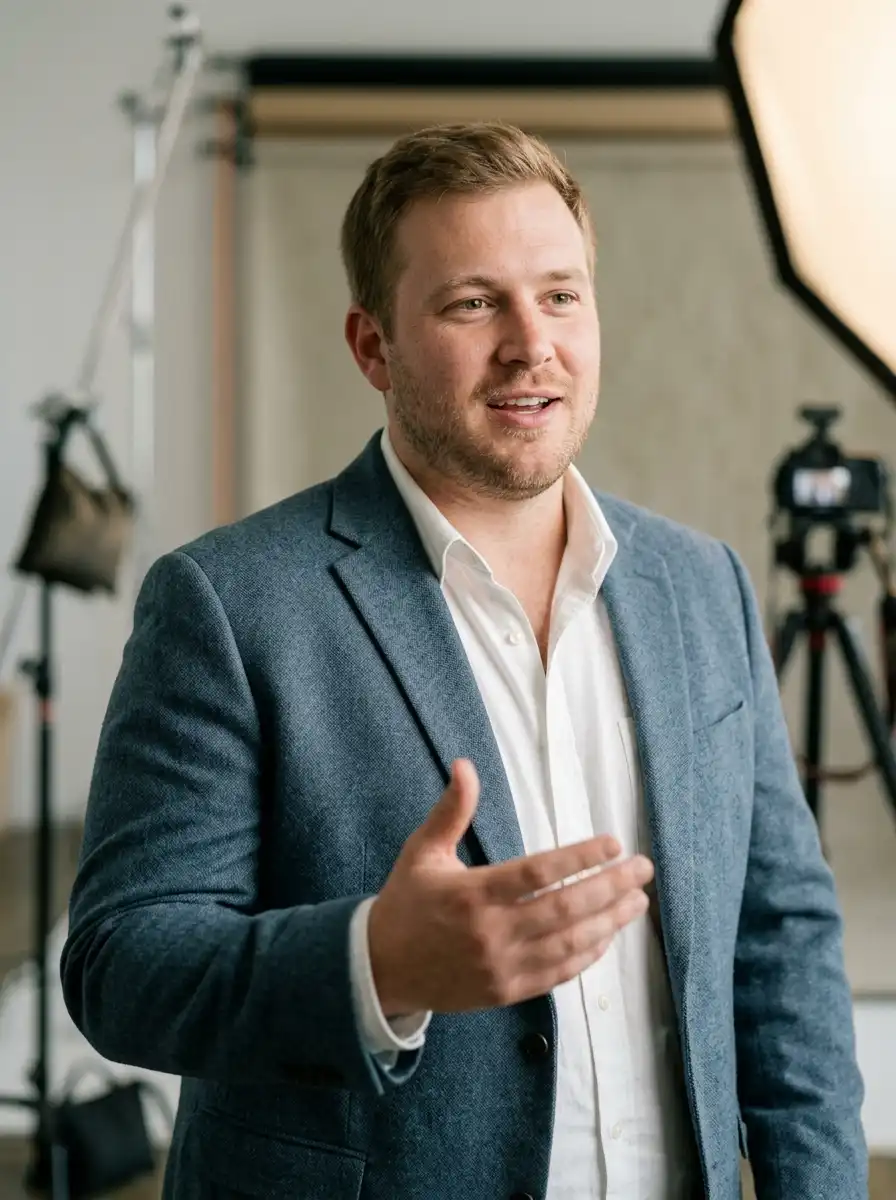
You are allowed to ask for this. Most photographers would rather you did.
They cannot read your mind, and they only get one shot at your day. Thirty seconds of honesty saves both of you.
Say it once, before the day
Something this simple works:
I carry some weight around my middle and I am a bit self conscious about my chin. Could you keep that in mind when you are shooting me?
Then send two photos of yourself you like and one you do not. That tells a photographer more than a paragraph ever will.
Then ask for these five things
| Ask for | Why it works |
|---|---|
| Camera at eye level or slightly above | Shooting up at you widens the body and pushes the chin forward. This single change fixes the most photos. |
| A longer lens for portraits | Around 85mm and above keeps your proportions natural. Wide lenses used close stretch whatever is nearest. |
| Light from the side, not flat from the front | Side light puts shadow down the edge of your body, which gives it shape. Flat flash erases it. |
| More close and mid range frames | Head and shoulders shots put the attention on your expression, not your outline. |
| Movement and candids | Walking, laughing, turning back over your shoulder. Standing still posed is where self consciousness shows. |
It also helps to agree on editing before the day. Most photographers will smooth a stray collar wrinkle or an awkward fold. Decide together what you do and do not want changed, so nobody has that conversation later.
Book a practice shoot
This is the most useful thing on this page and almost nobody does it.
An engagement shoot or a short practice session does three jobs at once. You find out which poses feel natural. Your photographer learns your angles before it counts. And you see real photos of yourself in advance, so the wedding gallery is not the first time.
Everything is in place. Here is how the day itself runs.
Your Wedding Day Photo Plan
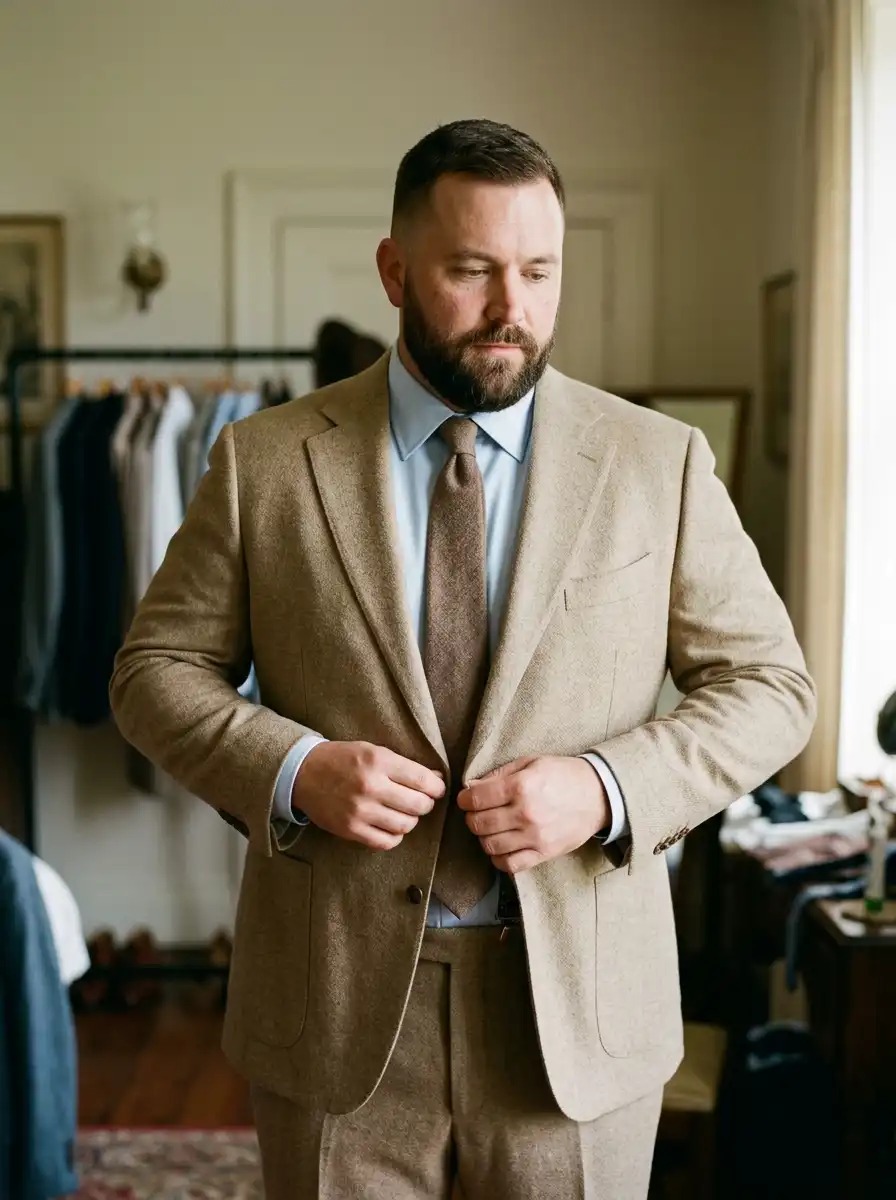
Short, practical, in order. Screenshot this part.
The week before
- Final fitting, wearing the shirt, shoes and braces you will actually wear
- Haircut and beard shape, 7 to 10 days out
- Ease off salt and alcohol, and sleep
The morning of
- Eat something. An empty stomach makes you tense, and tension shows
- Steam or press the suit, because creases read as bulk
- Empty every pocket
- Blot the shine before the first photos
During photos
- Jacket buttoned standing, unbuttoned sitting
- Reset every time you hear the shutter: shoulders back, chin forward and down, weight on the back foot, breathe out
- Give your best man one job, to tell you if your collar, tie or jacket has shifted
And then let it go.
You will not be thinking about your waistline during the first dance. Neither will anyone else in the room.
The photos your family ends up loving are the ones where you are laughing, not the ones where you posed well.
Four Quick Answers
Looking Your Best in the Photos
Turn, breathe out, and let the suit do the work. Open each card for the short version.
Turn 45 degrees · Chin forward · Breathe out
What colour suit is most slimming?
One rule beats every swatch book. Flip the card to see it.
Dark, solid and matte. Navy, charcoal or deep green. Skip shine, bold checks and wide stripes. A waistcoat in the same colour keeps one unbroken vertical line, and that does more than the colour on its own.
Should I lose weight before the wedding?
Does a three piece suit really help?
Yes, for most larger builds. The waistcoat smooths the shirt across your middle, covers the waistband, and keeps one continuous dark column from collar to trousers. The eye reads height instead of width.
Draw back the curtainWhat is the single best pose?
Chin forward, then slightly down, with your body at about 45 degrees to the camera. It sharpens your jaw, lengthens your neck and narrows your torso at the same time. Practise it in a mirror until it stops feeling strange.
Never suck in. Breathe out and stand tall.
Start With Two Things This Week
The suit does most of the work. Your posture does the rest. Your photographer closes whatever gap is left.
None of that asks you to be a smaller man by the wedding. It just makes sure the camera shows the man who actually turned up.
So pick two things and do them this week. Book the fitting, because that is the one with a six week queue in front of it. Then send your photographer three short sentences about what you want from your photos.
That is the whole plan to look slim in wedding photos. Everything else is ten minutes in front of a mirror.
And on the day, the man in the good photos is the one who stopped thinking about it.