
The jeans looked great in the store photo. They did not look great when the box showed up.
If you’ve ever ordered a 3XL shirt online and gotten one that hugged your belly but hung off your shoulders, you already know size tags don’t mean much. A 2XL from one brand can be a full 4 inches bigger than a 2XL from another.
That’s why learning how to measure yourself for plus size clothing beats guessing every time. Your body’s numbers stay the same no matter which store you shop. The tag doesn’t.
By the end of this guide, you’ll have eight measurements written down: neck, chest, belly, pant waist, seat, shoulders, sleeve, and inseam. You’ll know which ones matter for shirts and which ones matter for pants.
You’ll also know how to read a brand’s size chart so you pick the right size the first time.
This method works because it measures the way clothing brands do. It takes each number at the point where fabric actually sits on a bigger body. That includes the spot under your belly where your pants really rest, which most basic guides skip.
The whole thing takes about 15 minutes. You need a soft tape measure, a mirror, and something to write on. A helper makes two of the steps smoother, but you can do it alone. Let’s get your numbers.
What You Need
- Soft tailor’s tape measure (120-inch is best)
- Piece of string or phone cable (backup option)
- Metal ruler or hardware tape (only if using string)
- Full-length mirror
- Thin, close-fitting T-shirt
- Your best-fitting pair of pants
- Notebook and pen, or your phone’s notes app
- A helper (optional, useful for shoulders and sleeves)
- The size chart of the brand you plan to order from
At a Glance
- Grab a soft tape measure
- Strip down to a thin tee and underwear
- Stand relaxed in front of a mirror
- Measure your neck
- Measure your chest
- Measure the widest part of your belly
- Measure where your pants actually sit
- Measure your seat
- Measure across your shoulders
- Measure your sleeve length
- Get your inseam from your best pants
- Write every number down twice and round up
- Match your numbers to the brand’s size chart
Grab a Soft Tape Measure to Measure Yourself for Plus Size Clothing

A metal hardware tape won’t bend around your body, and it gives you numbers that run high. What you want is a soft, flexible tailor’s tape, the kind that rolls up into a little coil.
Many standard tapes stop at 60 inches, and a bigger guy can run past that on a belly or seat measurement. A 120-inch tape costs about $3 to $5 and saves you the headache.
No tape in the house? Grab a piece of string or a phone charger cable. Wrap it around, pinch the spot where the end meets, then lay it flat against a ruler.
Look at the very end of your tape. Some cheap tapes have a metal cap that adds about ¼ inch. If yours does, start reading from the first printed line instead of the tip.
Strip Down to a Thin T-Shirt and Fitted Underwear
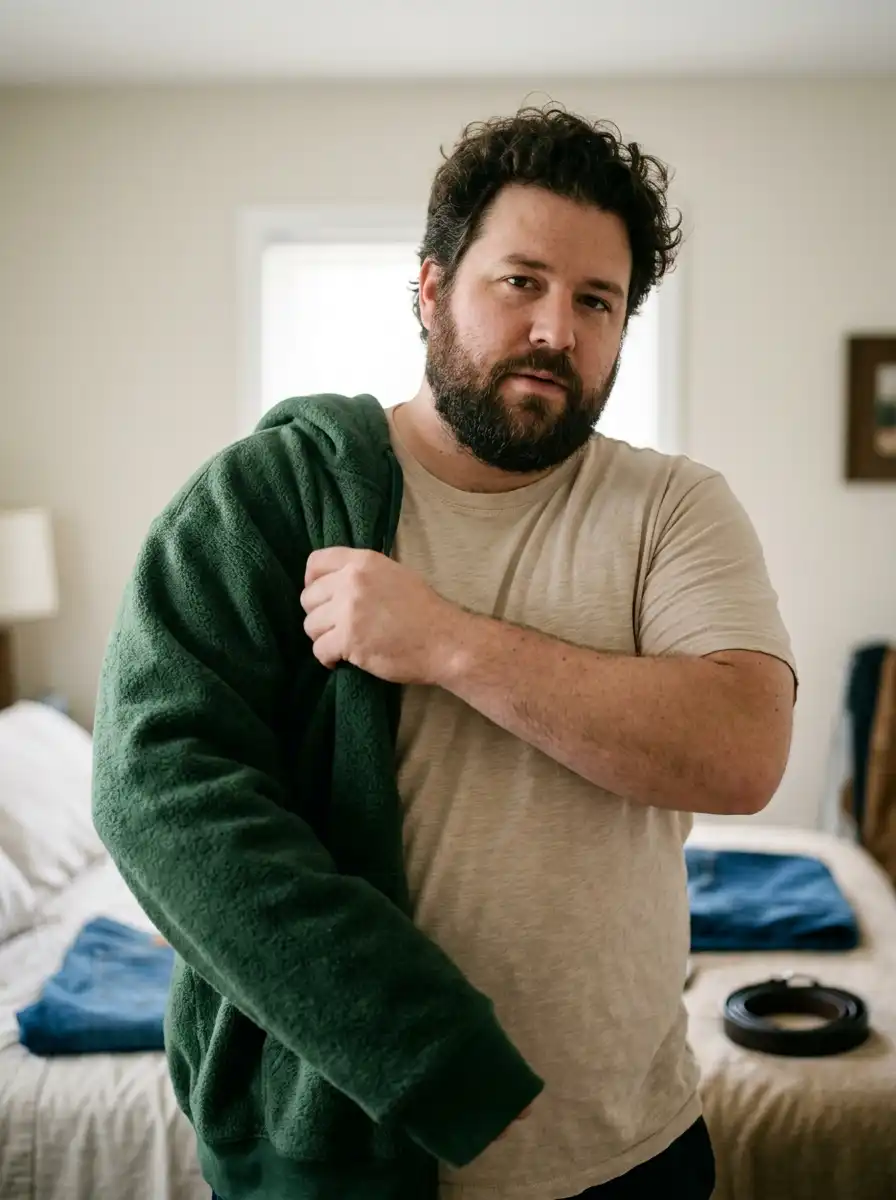
Jeans and a hoodie can add 1 to 2 inches to every number you take. That’s the gap between a shirt that buttons cleanly and one that pulls.
Take off anything thick: sweaters, belts, jeans, and whatever is sitting in your pockets. Keep on a thin, close-fitting T-shirt and your normal underwear.
Why keep anything on at all? Most brands build their size charts around a body wearing a light base layer, so your numbers will line up with theirs more closely.
If you always wear an undershirt under dress shirts, put that one on now.
Stand Relaxed in Front of a Full-Length Mirror
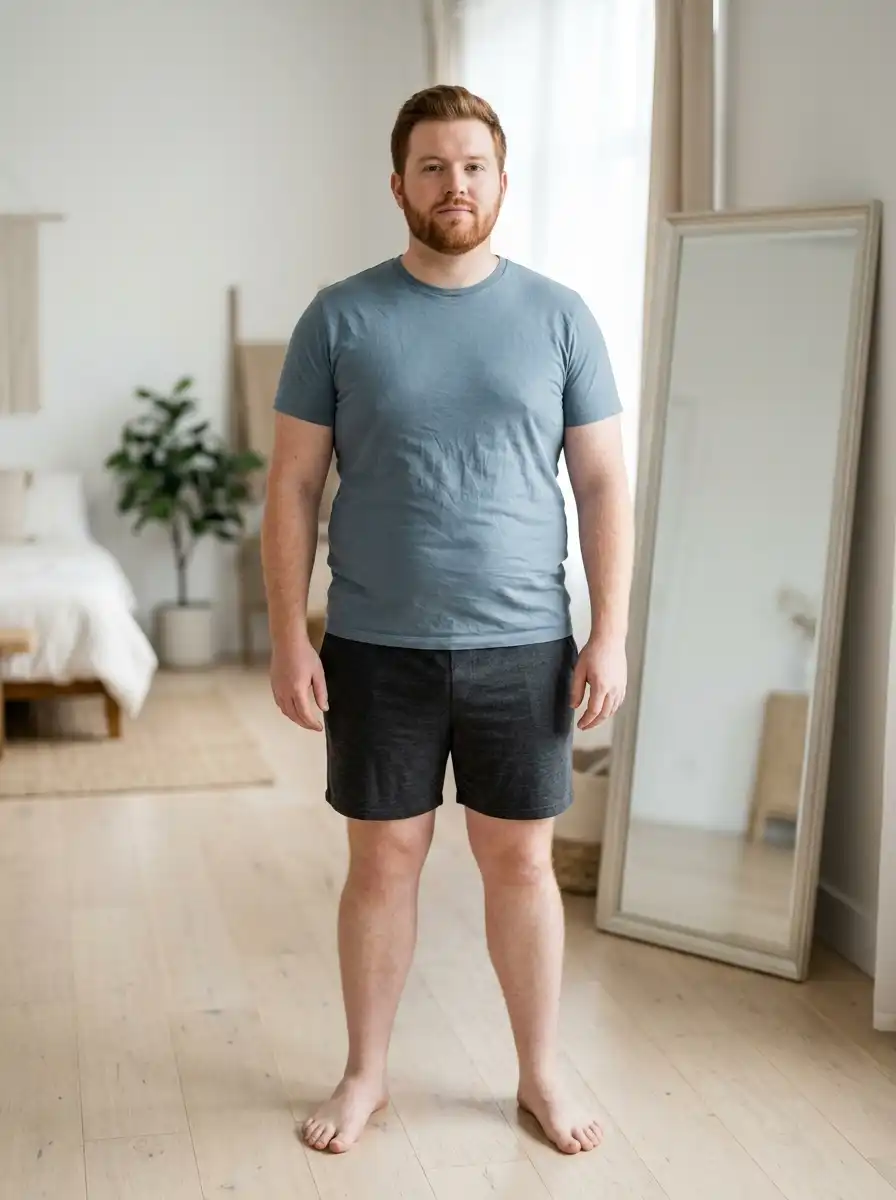
Your body will try to cheat here. Most guys pull in their stomach the second a tape touches it, and nobody does it on purpose. Stand with your feet about 6 inches apart and let your arms hang loose at your sides.
Breathe out normally, then hold still. The mirror has one job: showing you whether the tape stays level all the way around. A tape that dips low in the back can throw a number off by 2 inches or more.
No full-length mirror? Prop your phone against a wall and use the front camera to check the back.
Don’t suck in your belly or puff out your chest. Your clothes have to fit the body you live in all day, not the one you can hold for five seconds. A shirt sized for a sucked-in stomach will gap at the buttons by lunch.
Wrap the Tape Around Your Neck Below the Adam’s Apple
If you never wear button-up shirts, this number matters less, but polos and collared tees use it too.
Place the tape around the base of your neck, about 1 inch below your Adam’s apple, where a shirt collar actually sits. Keep it level all the way around.
Then slide one finger between the tape and your skin before you read the number. That finger gives the collar breathing room, so the shirt won’t choke you when you turn your head.
Dress shirts come in half-inch sizes, so round up to the nearest ½ inch. A reading of 18¼ becomes 18½.
Measure Your Chest at the Fullest Point Under Your Arms
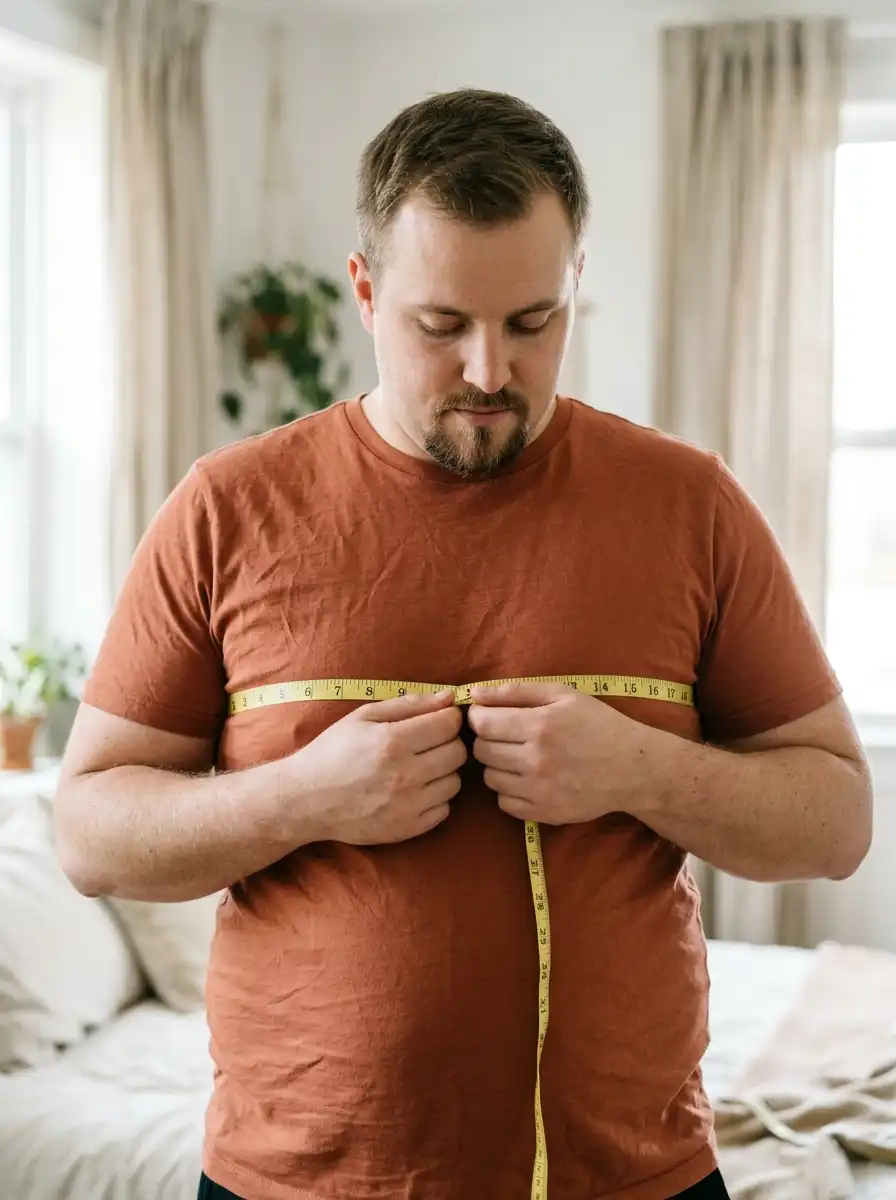
Your chest number sets your T-shirt, polo, and jacket size more than any other measurement. Getting the tape into the right spot alone takes a little arm work:
- Raise both arms out to your sides.
- Pass the tape around your back and under both armpits.
- Lower your arms and let them hang loose.
- Check the mirror to make sure the tape crosses your shoulder blades in the back.
- Breathe out normally, then read the number.
Keep the tape snug but flat. It should stay put without pressing into your skin. If it slides down your back, the number will read short, and your shirts will pull across the chest.
Find the Widest Part of Your Belly and Measure There
Where is your belly widest? For most bigger guys, it’s at the belly button or about 1 to 2 inches below it. Turn sideways to the mirror to find the spot that sticks out the most.
Run the tape around your body at that exact height, keeping it level front to back. This is the number many plus-size and big & tall brands list as “belly” or “stomach.”
It matters because shirts button and stretch over this spot, even when they hang from your chest.
Skip it, and a shirt that fits your chest can still pull open at the middle buttons or ride up when you sit.
Don’t pull the tape tight here. If your skin folds over the edge of the tape, it’s too snug, and the number could read 2 to 3 inches short. Let the tape rest flat against your body, like a shirt would.
Measure Where Your Pants Actually Sit, Not Your “True” Waist
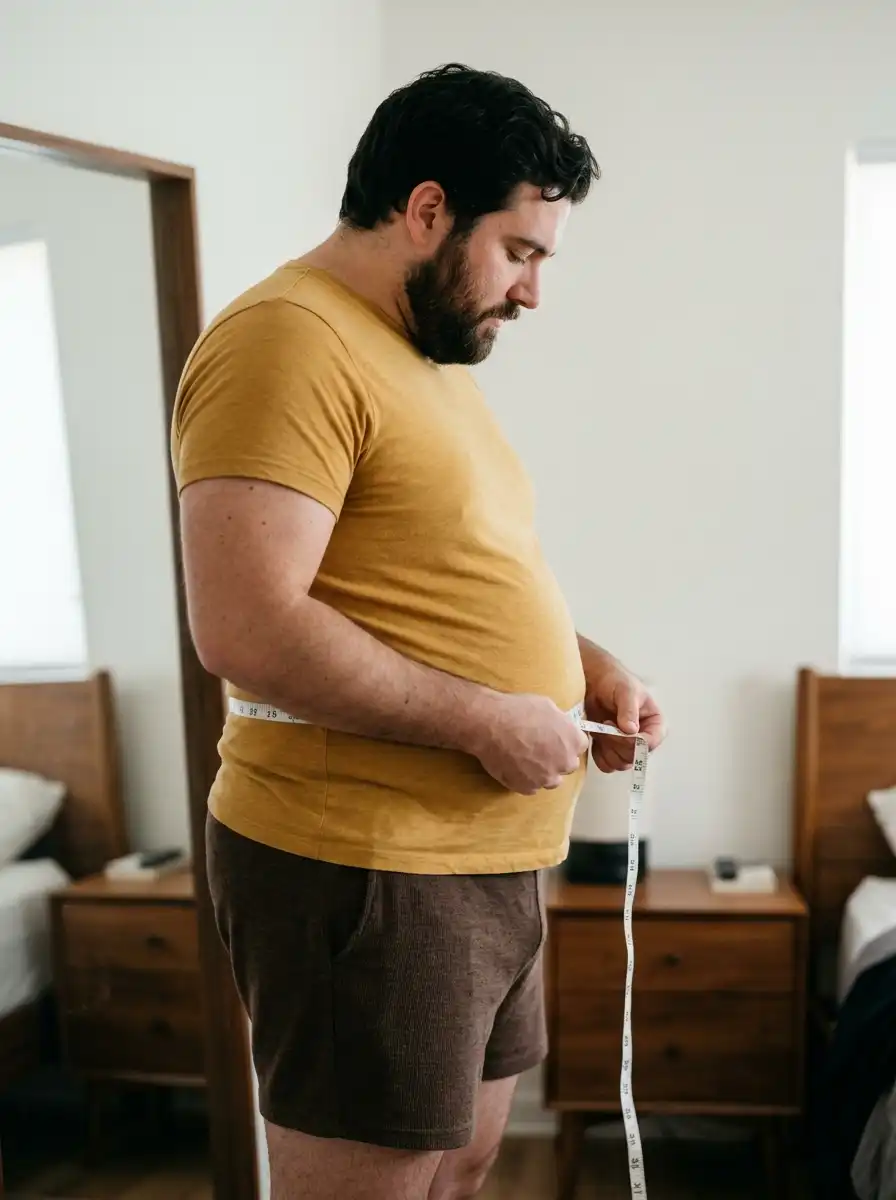
Ninety percent of size guides tell you to measure your “natural waist,” just above the belly button.
That advice fails most big guys, because their pants don’t sit there. Their pants sit under the belly, near the hip bones.
Put on your best-fitting pants and look in the mirror. Notice exactly where the waistband rests. Take the pants off, then run the tape around your body along that same line, keeping it level.
This is your pant waist, and it’s the number to match against “waist” on most pants size charts.
| Measurement | Where the tape goes | What it sizes |
|---|---|---|
| Belly | Widest part of your stomach | Shirts, polos, tees |
| Pant waist | Where your waistband rests | Jeans, chinos, shorts |
| “True” waist | Above the belly button | Rarely useful for plus-size men |
Double-check this number with your best jeans. Button them, lay them flat, and measure straight across the top of the waistband. Multiply by 2. If the result lands within 1 inch of your body number, you can trust it.
Circle the Tape Around the Fullest Part of Your Seat
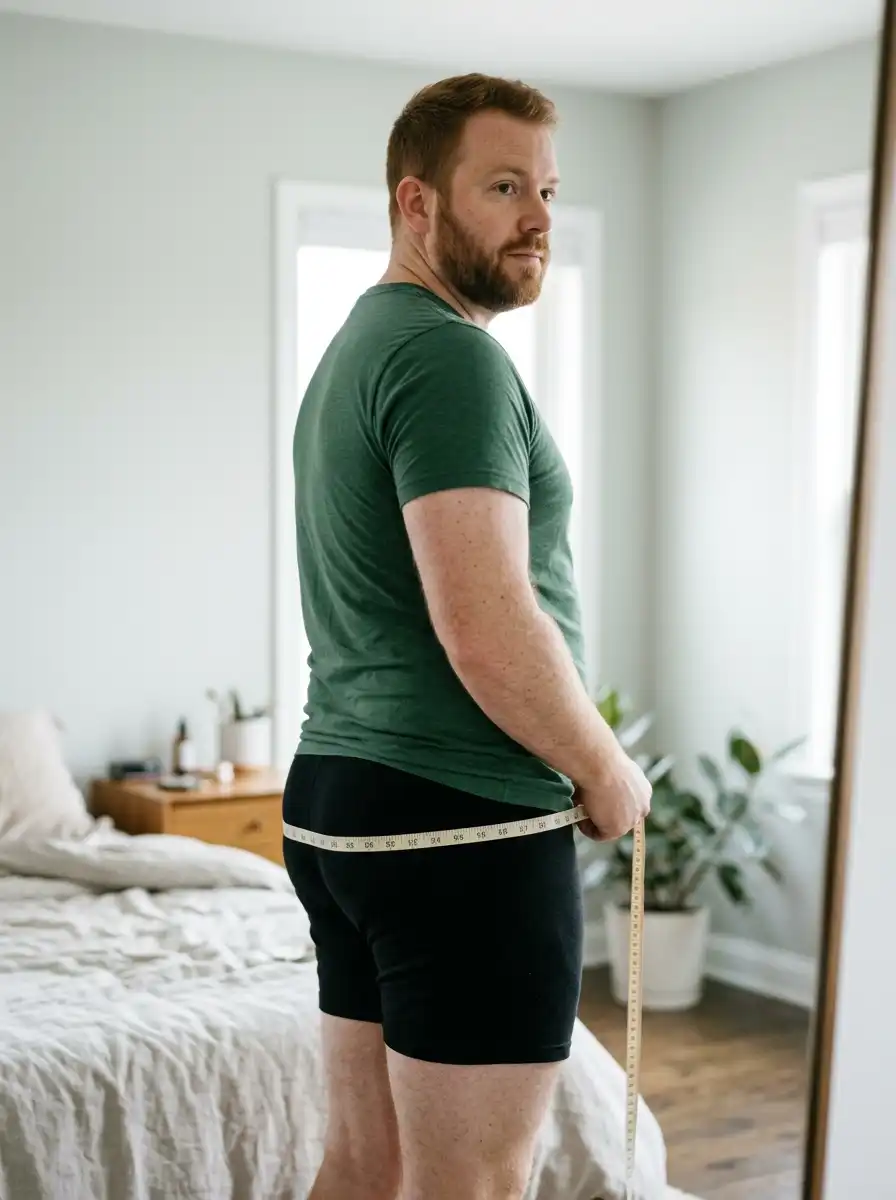
Pants that fit at the waist can still split at the back seam the first time you squat. The seat measurement prevents that.
Stand with your feet together, since spreading them makes your seat read wider. Wrap the tape around the fullest part of your backside, usually about 7 to 8 inches below your pant waist.
Turn sideways to the mirror and check that the tape sits level, not sagging toward the floor in the back.
Chinos, dress pants, and slim jeans depend on this number most, because they have less stretch to give you.
Measure Across the Back of Your Shoulders With a Helper
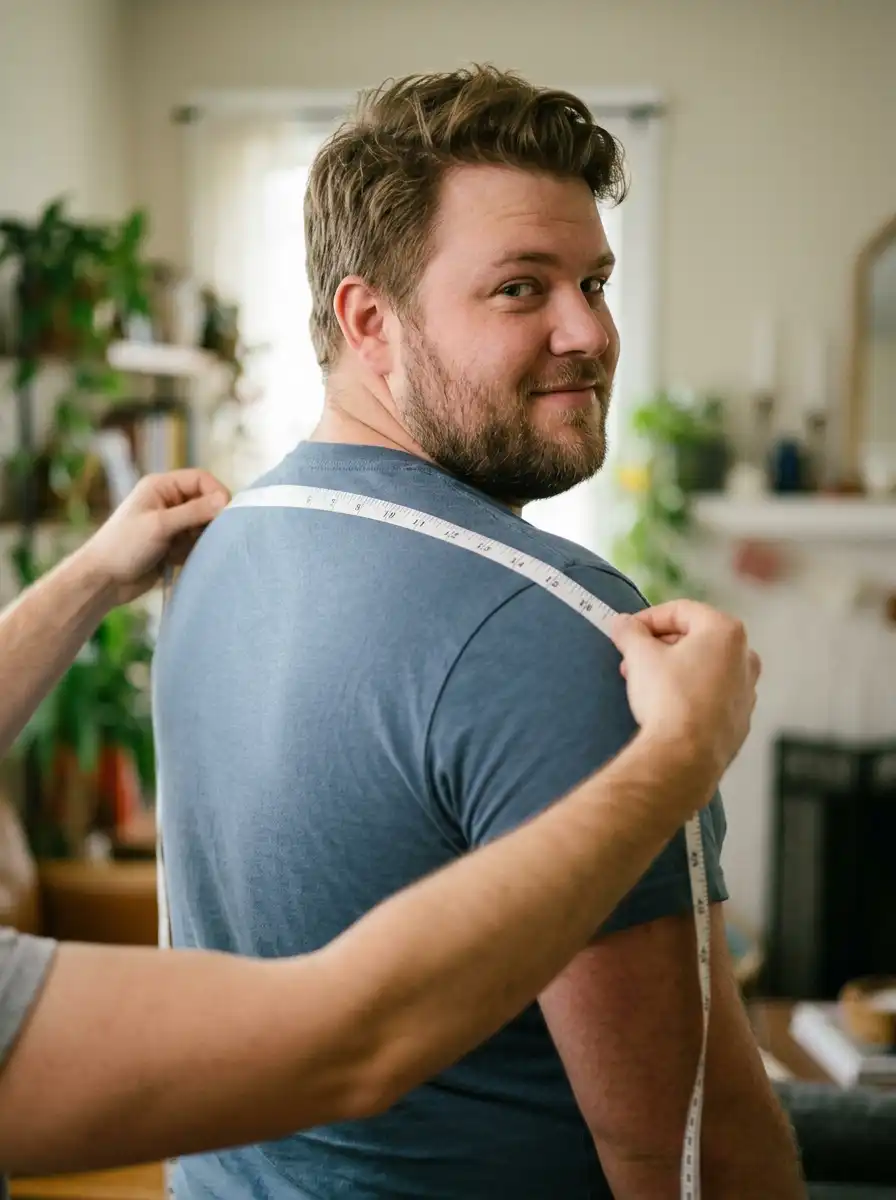
This is the one measurement that’s hard to take alone. Have your helper find the bony point at the top of each shoulder, right where your arm meets your body.
They should run the tape across your back from one point to the other, letting it follow the slight curve of your upper back. Stand tall with your arms relaxed.
Why bother? Many big guys size up for their belly and end up with shoulder seams drooping halfway down their arms.
If you’re alone, lay your best-fitting shirt flat and measure straight across, seam to seam. That gives you a close match.
Run the Tape From the Center of Your Neck to Your Wrist
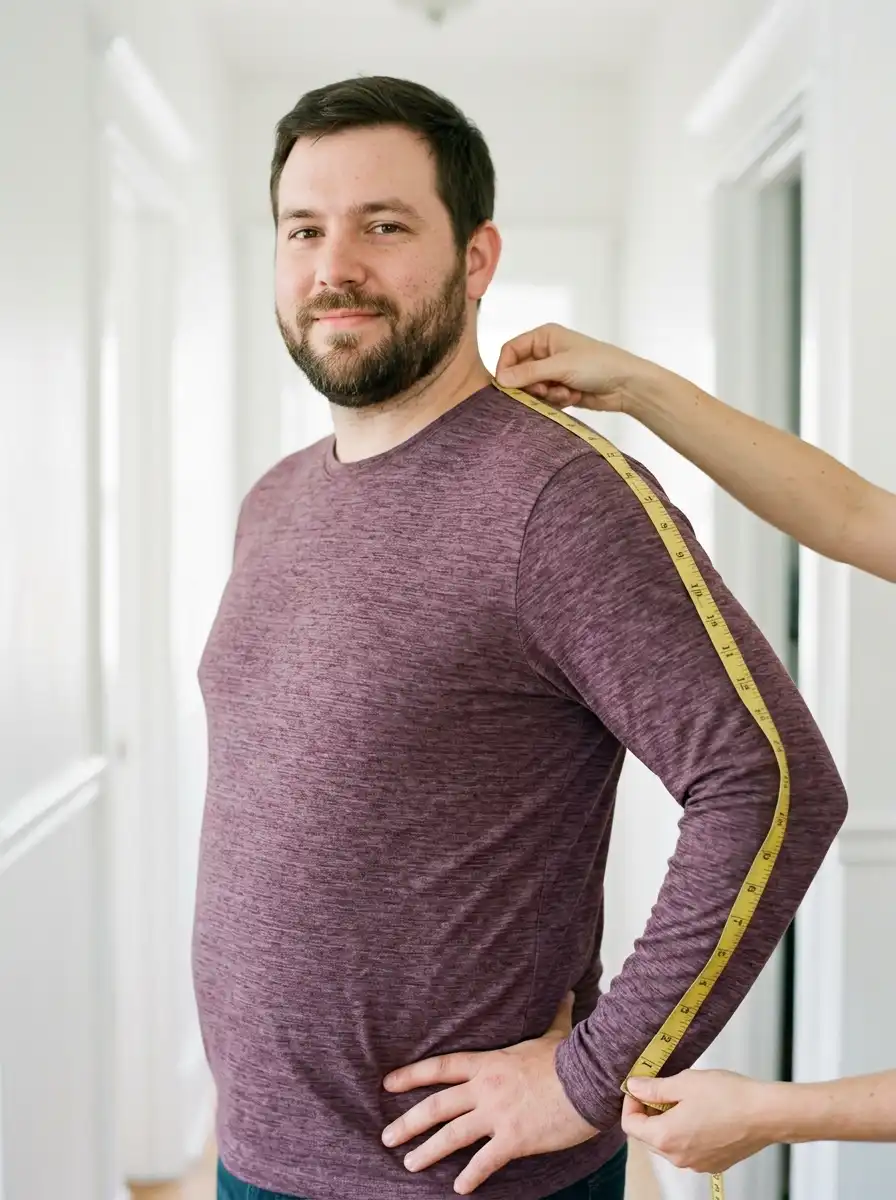
Sleeve length is a two-person job, and it only matters for button-ups, jackets, and long-sleeve tees.
Put your hand on your hip so your arm bends slightly, the way it does when you reach forward.
Your helper should start at the bony bump at the center back of your neck. From there, the tape goes across the top of your shoulder, down the outside of your arm, past the elbow, and stops at your wrist bone.
Most plus-size men land between 33 and 37 inches. Alone? Lay a well-fitting dress shirt flat and measure from the center back of the collar to the end of the cuff.
Use Your Best-Fitting Pants to Get Your Inseam
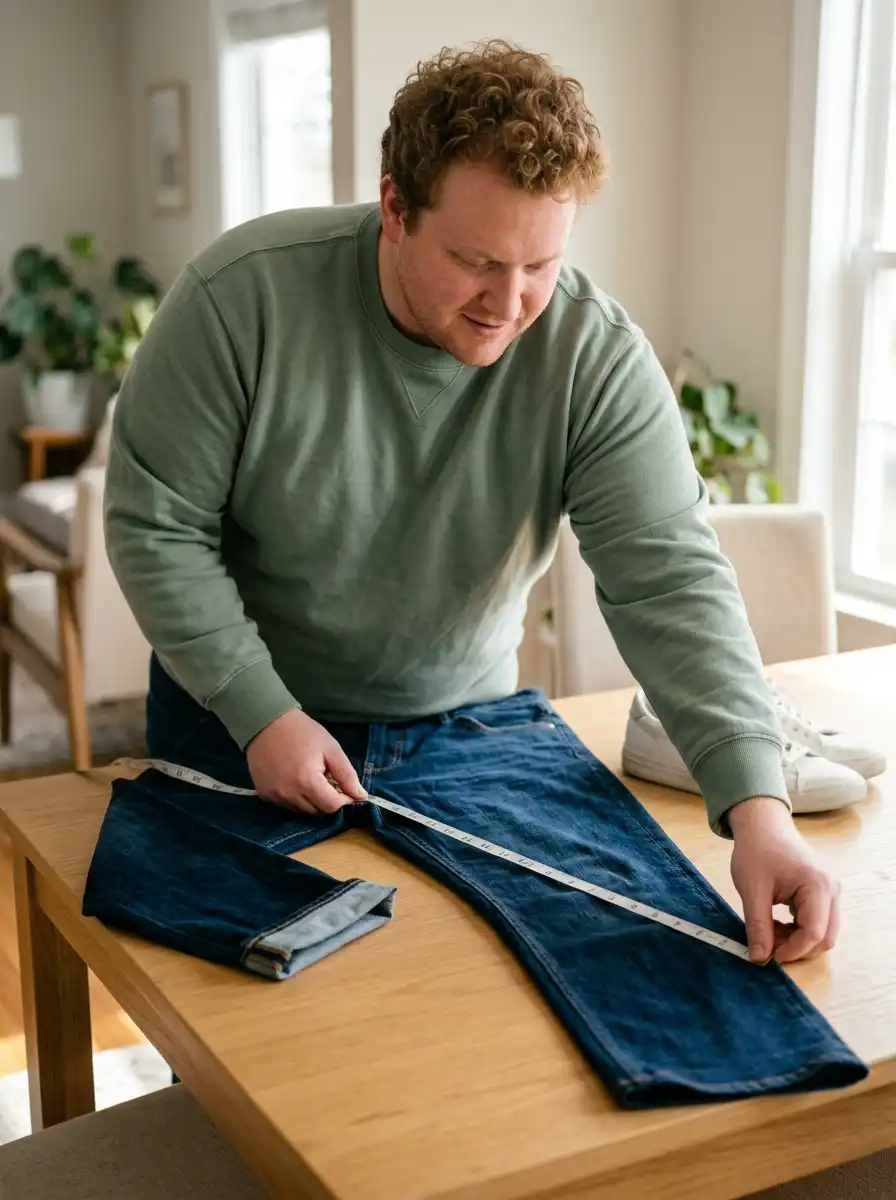
Your inseam rarely changes, even when your waist does, so you may only need to take this once. Measuring it on your own body is awkward and tends to come out wrong.
Use your pants instead. Pick the pair whose length you like best. Lay them flat on a table or floor, then fold one leg back so the inside seam shows.
Measure from the crotch seam straight down to the bottom of the hem. Most men fall between 28 and 34 inches.
Anything over 34 usually means shopping “big & tall” lines instead of regular plus sizes.
Measure pants you wear with your everyday shoes. Sneakers and boots change where a hem lands by up to 1 inch, and you want the length that works with what’s actually on your feet.
Write Every Number Down Twice and Round Up
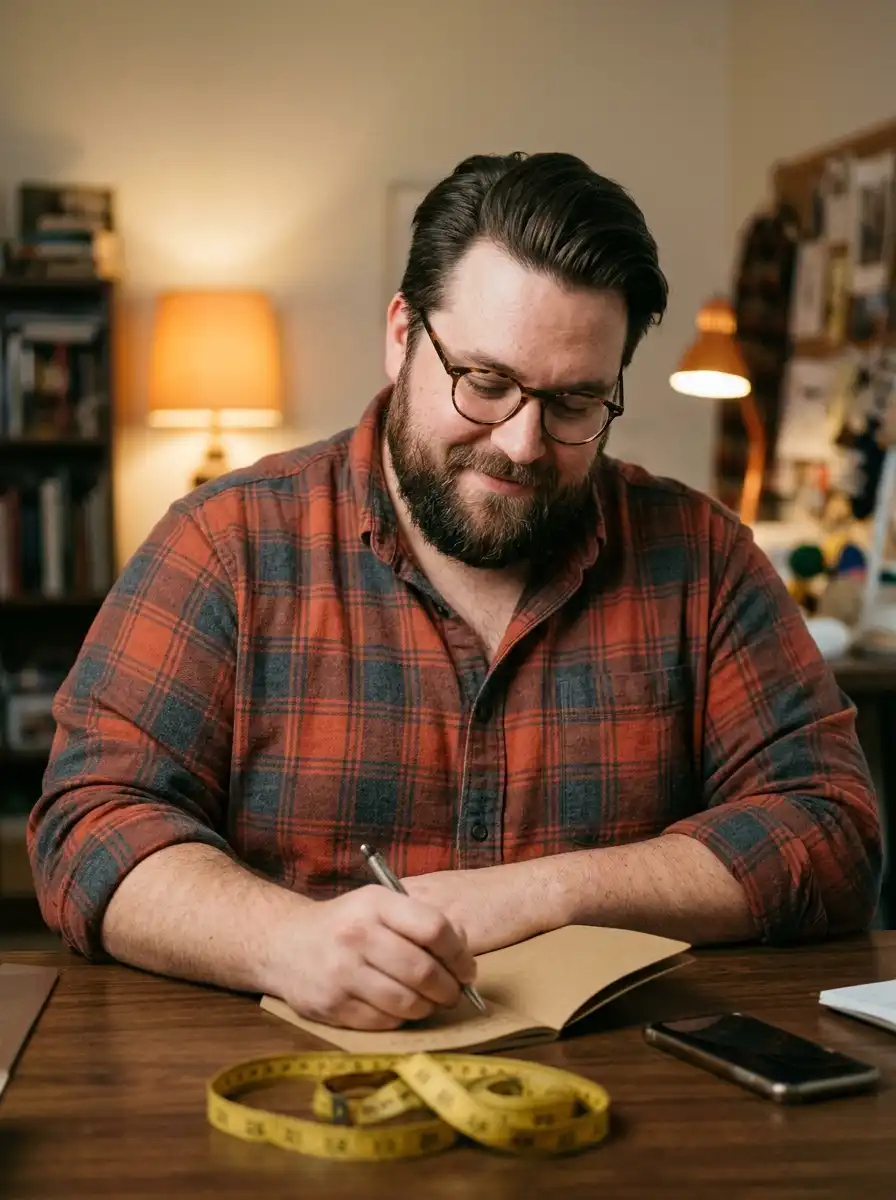
If you only remember one rule from this guide, make it this one. Take each measurement a second time.
If the two readings differ by more than ½ inch, take a third and use the middle number. Round neck and sleeve up to the nearest ½ inch.
Round everything else up to the nearest whole inch. Why round up? A shirt with a little extra room still looks fine. A shirt that’s too tight goes back in the box.
Save your numbers in your phone with today’s date, and re-measure every 6 months or after a 10-pound change in weight.
Never round down to land in a smaller size. A 47½-inch chest is a 48, not a 47. Rounding down is the fastest way to end up with a closet full of clothes you can’t button.
Match Your Numbers to Each Brand’s Own Size Chart
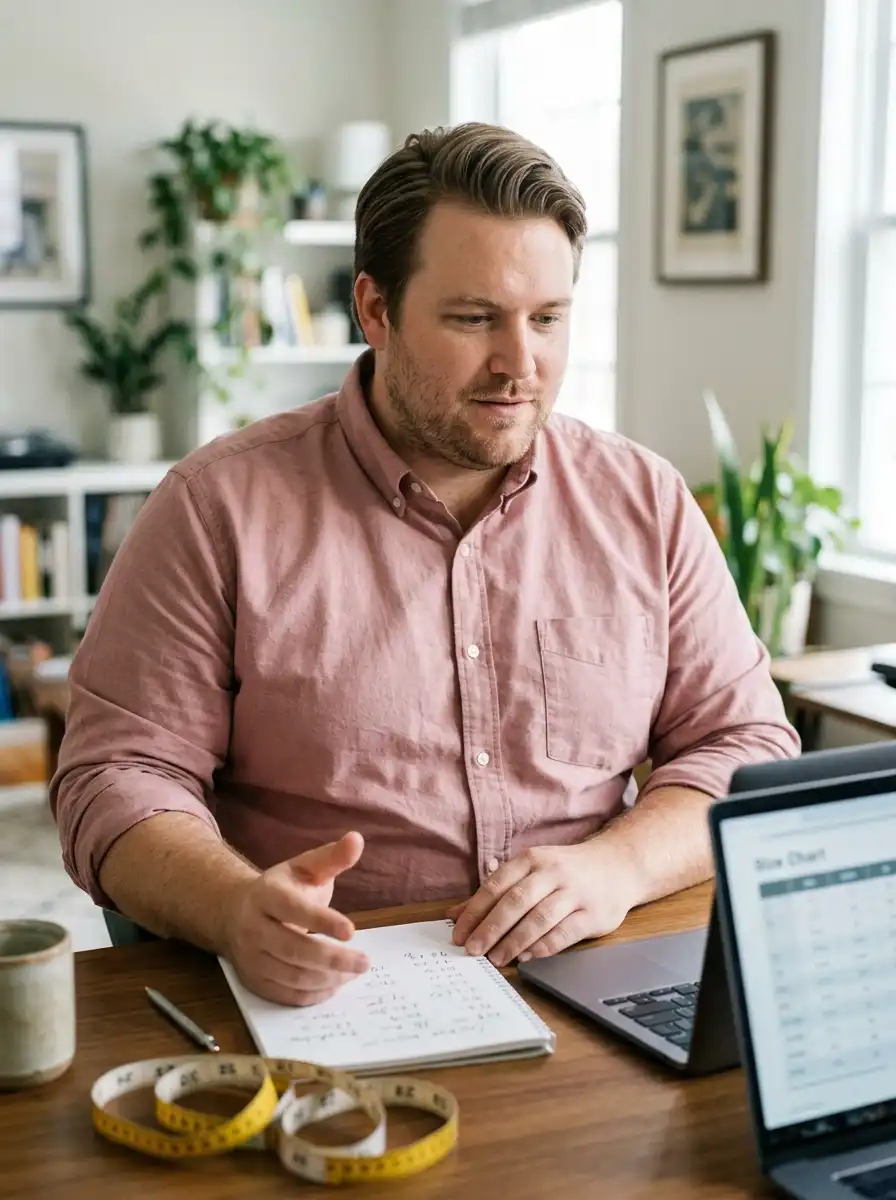
Forget the size you’ve always bought. It means nothing on a new website. Open the size chart on the product page itself, not the store’s general sizing page, since one store can cut different lines differently.
For shirts, check your chest first, then your belly. For pants, check your pant waist, then your inseam. If you land between two sizes, go with the larger one.
Watch the chart’s label, too. “Body measurements” match your numbers directly. “Garment measurements” are the clothing itself, so look for a shirt chest about 4 to 6 inches bigger than yours.
| Fit Type | Who It’s Built For | Signs It’s You |
|---|---|---|
| Big | Wider body, average height | Under 6’1″, inseam 34 or less |
| Tall | Average width, longer body | 6’2″ or taller, sleeve over 36 |
| Big & Tall | Wider and longer | Plus-size chest or belly and over 6’2″ |
Before you check out, skim the reviews for the words “runs small” or “runs big.” If three or more buyers say the same thing, adjust one size in that direction.
Troubleshooting Your Measurements
Even careful measuring hits a snag now and then. Maybe your numbers straddle two sizes.
Maybe the chart uses centimeters, or a shirt fits your chest but fights your belly. None of this means you measured wrong.
Most of the time, the fix is one small adjustment: a different column on the chart, a second reading, or a different fit line from the same brand.
Find your problem in the left column below, then try the fix next to it before you place your order.
You’re Ready to Order
You now have eight numbers that tell you more than any size tag ever has.
Neck, chest, belly, pant waist, seat, shoulders, sleeve, and inseam, all saved and dated in your phone.
That’s how to measure yourself for plus size clothing the way brands actually size it, and you’ll use these numbers every time you shop.
Next time a shirt catches your eye online, open the size chart before you open your cart. Then set a reminder to re-measure in six months.
Save this pin to your style board so the steps are waiting the next time you shop. And send it to a friend who’s tired of shipping clothes back.
Frequently Asked Questions
Can I measure myself without a helper?
Yes, for six of the eight numbers. For shoulders and sleeve, measure a shirt that fits you well while it lies flat. The result will be close enough to order with.
What time of day should I measure?
Measure mid-day, before a big meal. Your belly can read 1 inch or more larger right after eating, and clothes need to fit you on a normal day.
Is 2X the same as XXL?
Usually, but not always. Some brands cut their “X” sizes roomier than their “XL” sizes. Check the chart numbers instead of trusting the label.
My numbers say 3XL, but I always wear 2XL. Who’s right?
Your numbers. Sizes vary from brand to brand, and your usual store may cut big. Go with what the chart says for the brand you’re buying from.
Do stretchy fabrics change my size?
A little. Stretchy knits like tees forgive a tight fit, so you can stay true to your chart. Stiff fabrics like dress shirts and chinos have no give, so never size down in those.
How do I know if I need Big & Tall instead of regular plus sizes?
If you’re 6’2″ or taller, or your inseam is over 34 inches, shop tall or big & tall lines. Regular plus sizes will run short on your sleeves and pant legs.