
Your clothes fit. The size is right, the tag matches, nothing pulls. And you still look square in every photo.
That is the problem nobody explains. Most advice about how to dress a stocky build men can actually use stops at “wear dark colors” and leaves you there. Dark colors help a little.
They do not fix a shirt that hangs past your fly, or pants that sit low and cut your legs in half, or a jacket whose shoulder seam lands two inches down your arm.
Here is what you will have by the end of this guide: one complete outfit, on your body, that makes you look taller and leaner than the clothes you wore here.
Not a shopping list. An actual assembled outfit, built from your own measurements, using things you already own wherever possible.
The method works in one direction only — pants first, then shirt, then layer, then shoes. Each piece sets the proportion for the next one. Build it backward and you will fight yourself the whole way.
Grab a tape measure. Let’s start.
- Soft tape measure
- Full-length mirror
- Phone with a camera timer
- Notes app or paper
- Every pair of pants you own
- Four or five shirts you wear often
- One belt in brown, one in black
- Two or three pairs of shoes
- An open layer: shirt jacket, cardigan, or unlined blazer
- 6 binder clips or safety pins
- A thin dress shirt that already fits well
- Take four measurements before you sort a single hanger
- Find where your natural waist actually sits
- Start the outfit with the pants, not the shirt
- Hem the pants to a single break or no break at all
- Choose a shirt that ends at mid-fly
- Check the shoulder seam against your shoulder bone
- Keep the top and bottom in one color family
- Add one open layer with a straight, vertical hem
- Swap bulky shoes for a slim, low-profile pair
- Step back six feet and photograph the full outfit
Take four measurements before you sort a single hanger
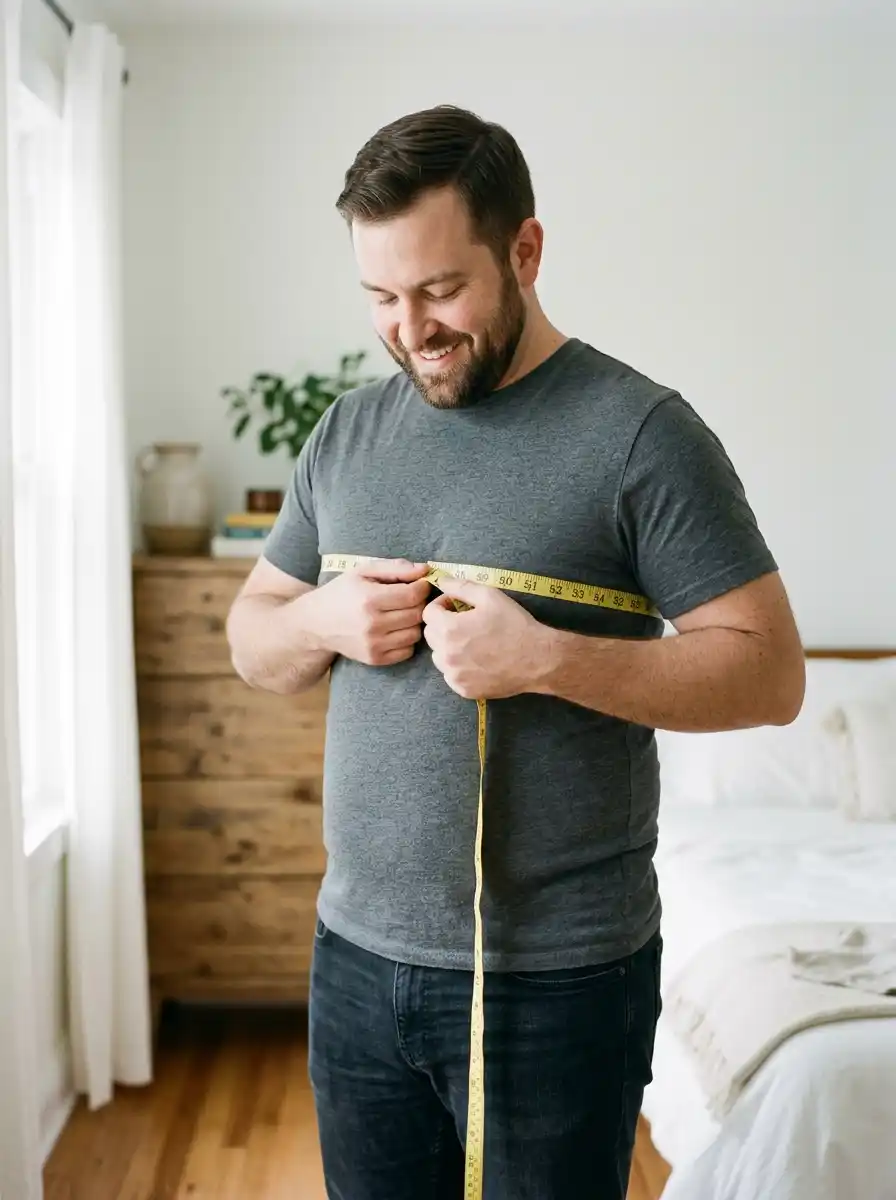
Four numbers decide every choice ahead of you, so write them down where you can pull them up in a store.
- Shoulder width — lay a shirt that fits flat, measure seam to seam across the back
- Chest — tape around the fullest part, under the arms, level all the way round
- Inseam — inside leg, crotch seam down to the ankle bone
- Shirt length — collar seam straight down to the bottom hem
Keep the tape snug but flat enough to slide a finger under. A tape that digs in gives you a number two sizes too small, and you will buy tight clothes for a year because of it.
Measure in a thin t-shirt, never over a hoodie or sweater. A bulky layer adds 2 to 3 inches to your chest number and throws off every size you buy after that. And breathe normally — holding your stomach in gives you numbers that belong to someone else.
Find where your natural waist actually sits
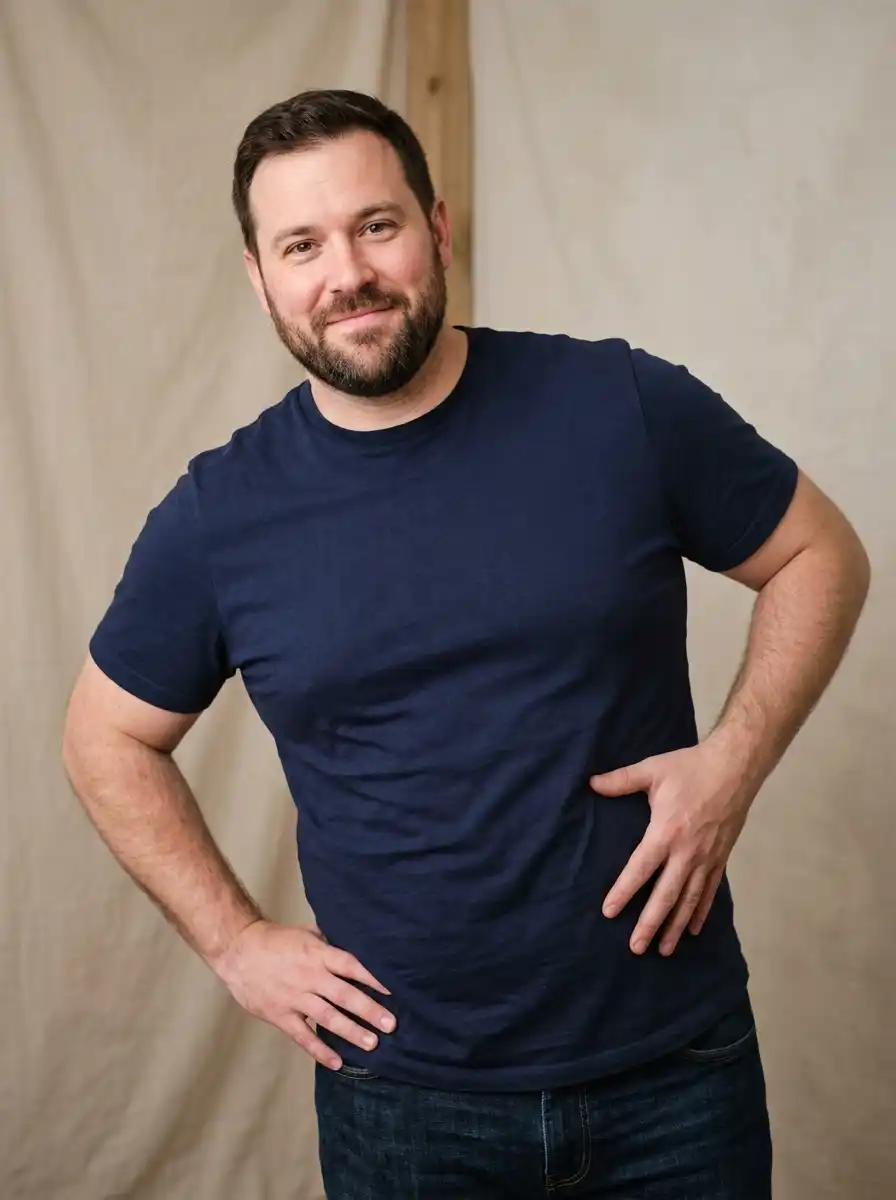
Bend sideways at the hip. The crease that forms is your natural waist — usually 1 to 2 inches above the belly button, and higher than where you have been wearing your jeans.
Mark it with a finger, then measure down to the floor. That number is your leg line, and it is the one you are about to make longer.
Start the outfit with the pants, not the shirt
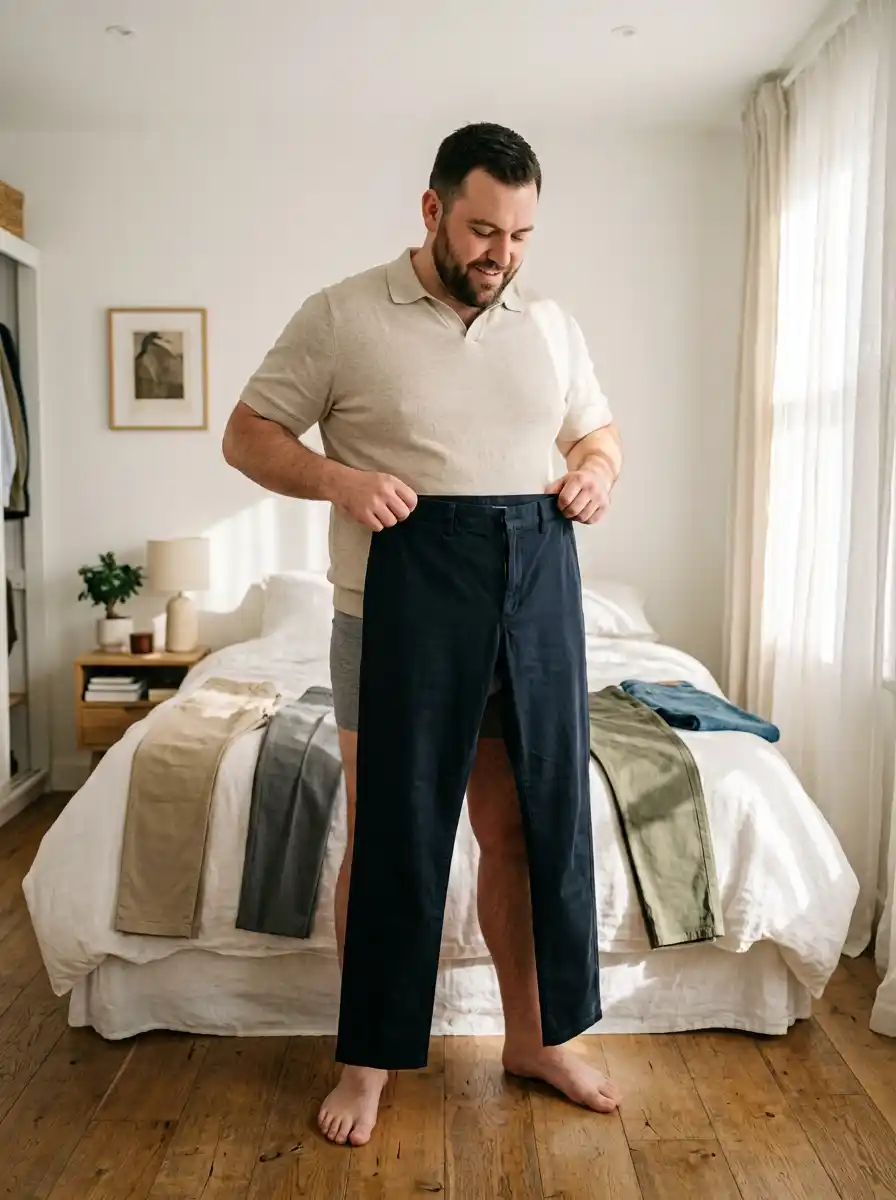
Pants set the leg line, and the leg line is what makes a shorter frame read as taller. Everything above the waist adjusts to it.
Pull every pair you own and sort them by rise — the distance from crotch seam to waistband. You want 10 to 11 inches on a shorter stocky frame.
Anything under 9 inches drops the waistband below your widest point and the belly sits over the top of it.
Leg shape matters next. Straight or slim-straight only. Skinny cuts exaggerate the gap between thigh and hem, and relaxed fits add width you do not need.
Hem the pants to a single break or no break at all
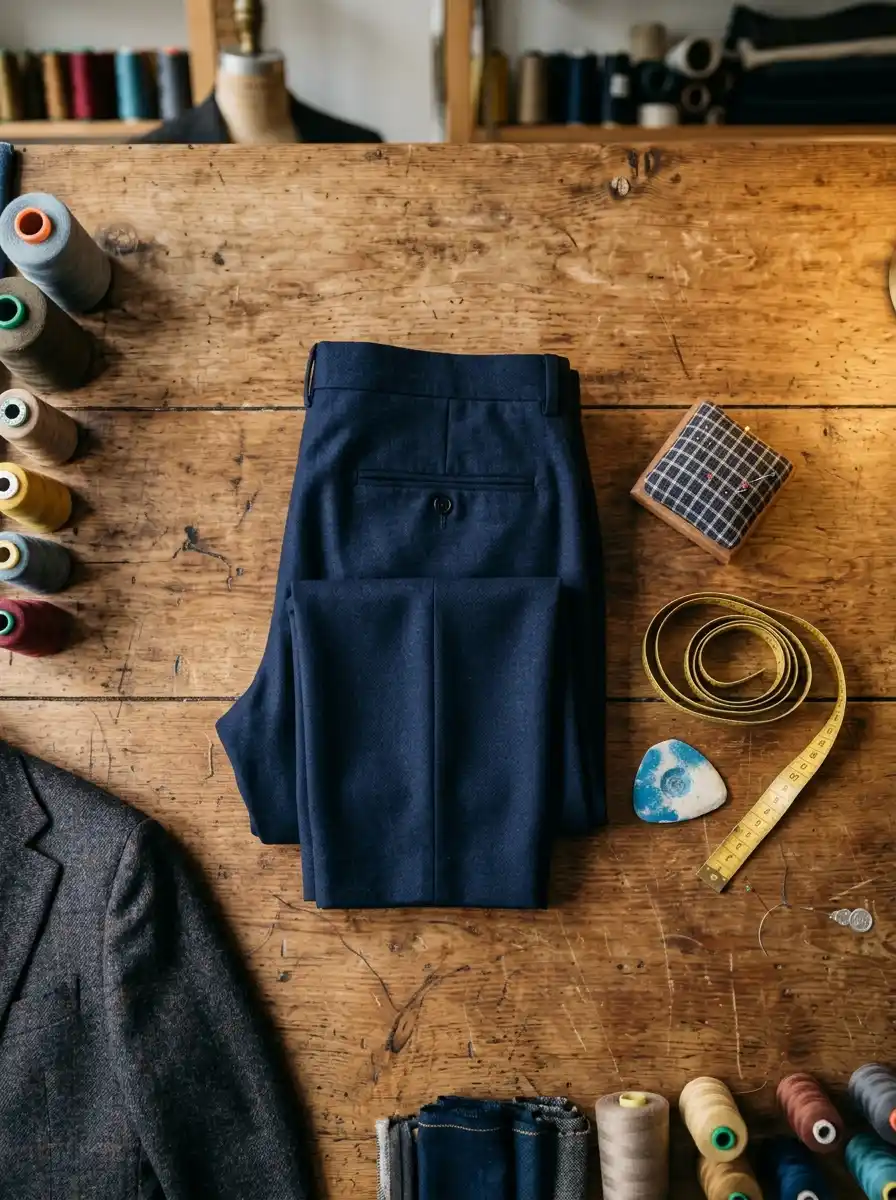
If the fabric folds twice over your shoe, you are losing height at the one place nobody thinks to look.
Each fold reads as a horizontal line, and horizontal lines across the ankle make the leg look shorter than it is.
Clip the hem up with binder clips and walk around the room before you commit.
Aim for the hem to touch the top of the shoe and stop — one soft fold, or none. A tailor charges $12 to $20 per pair and turns it around in a few days.
Skip cuffs entirely. A cuff adds a second hard line at the ankle and takes roughly 1.5 inches of visual leg away from a shorter frame. Ask for a plain hem, and bring the shoes you plan to wear with those pants to the fitting — hem height changes with sole thickness.
Choose a shirt that ends at mid-fly
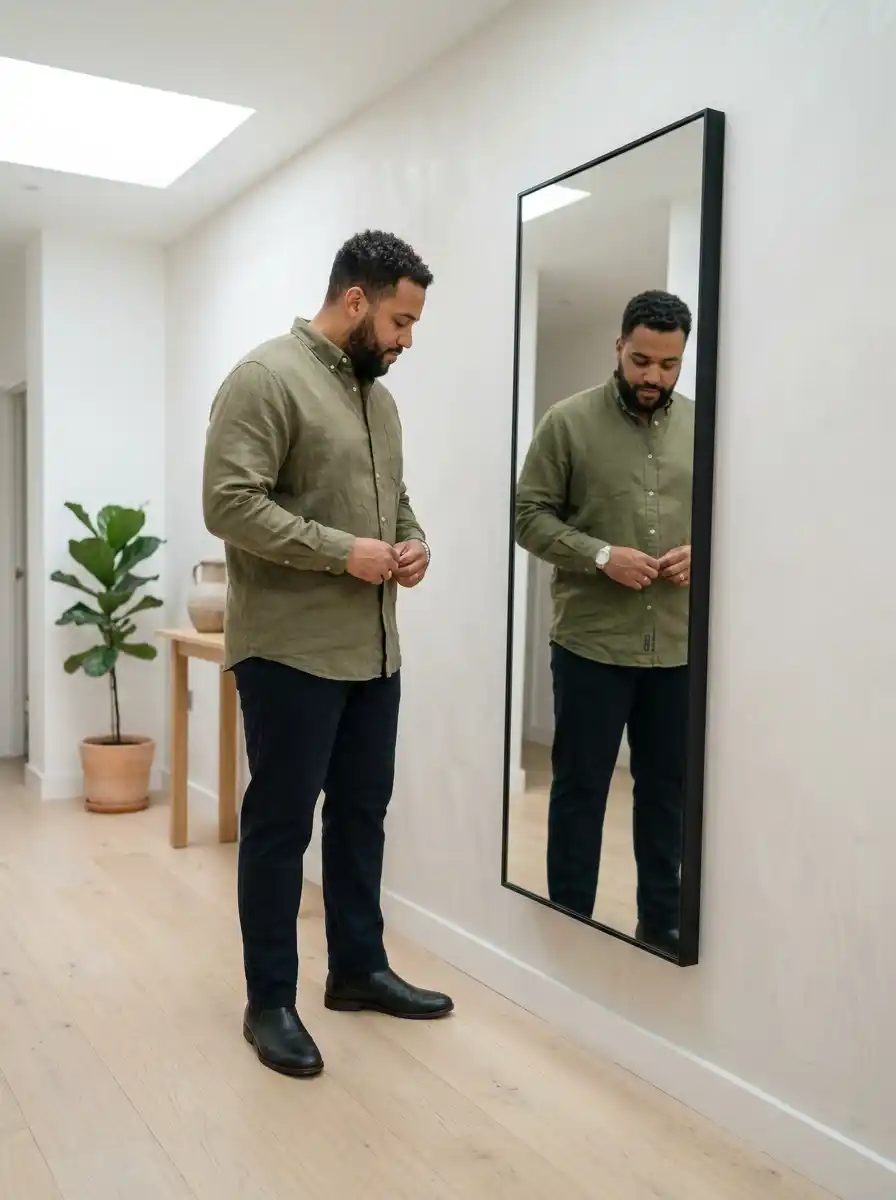
Untucked, the hem should land halfway down your zipper. Not at the crotch. Not past it.
That line shows more leg below the waist, and more leg is the whole point. Hold the shirt against yourself and look down before you buy it.
Big-and-tall sizing is the trap here. Those shirts are cut for height as well as width, so a 2XL off that rack can run 3 to 4 inches longer than you need. The hem drops past your fly and the shirt starts to read as a tunic. Check the length measurement on the tag, not the letter size.
Check the shoulder seam against your shoulder bone
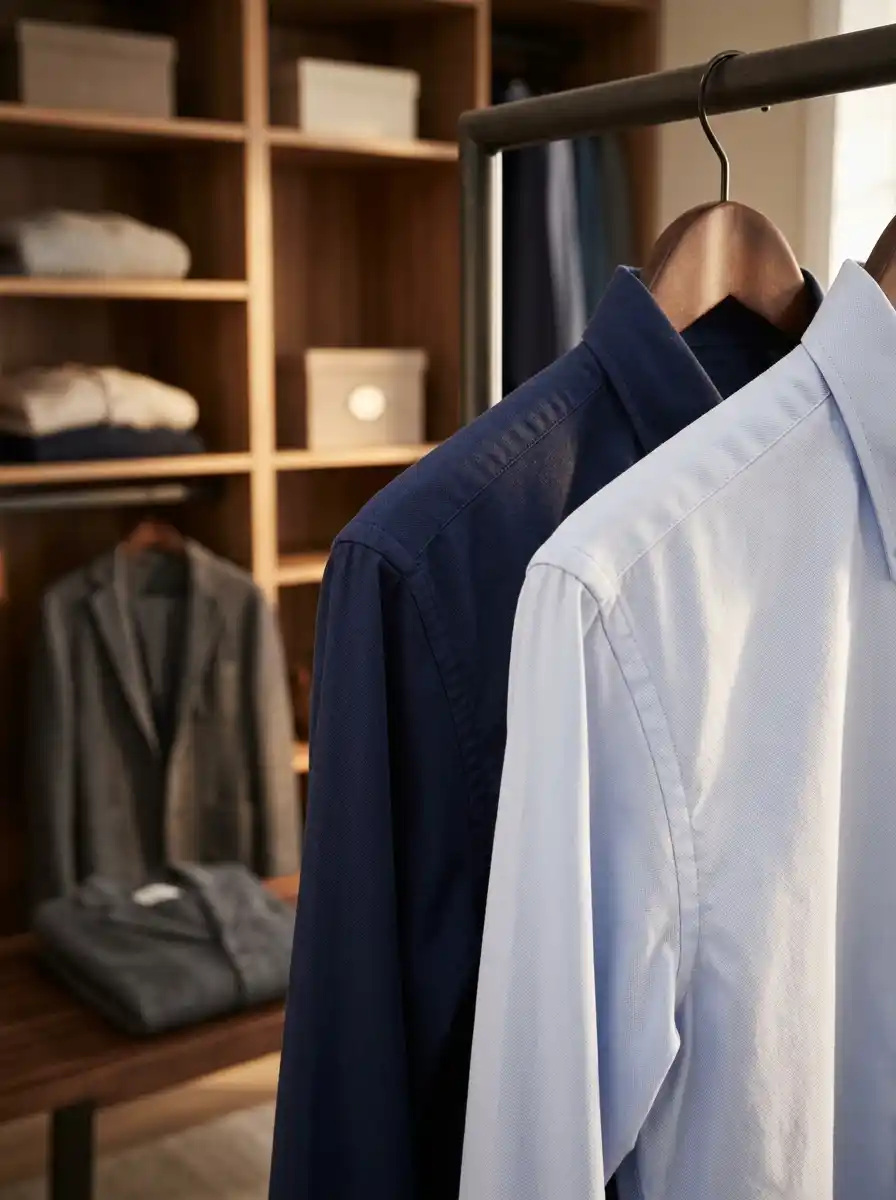
Reach across and feel for the hard knob at the end of your shoulder. The seam should sit directly on top of it.
Put on each shirt and jacket and test three things:
- Seam sits on the bone, not sliding down the arm
- Fabric across the upper back lies flat with your arms down
- No pulling wrinkles fanning out from the armpit
A seam that hangs low drops the whole frame and widens you. One that cuts inside the bone pulls tight and does the same.
This is the one measurement a tailor cannot fix cheaply, so let it decide which shirts you keep and which ones go in the donate pile. Everything else — sleeves, waist, length — is an inexpensive alteration.
Keep the top and bottom in one color family
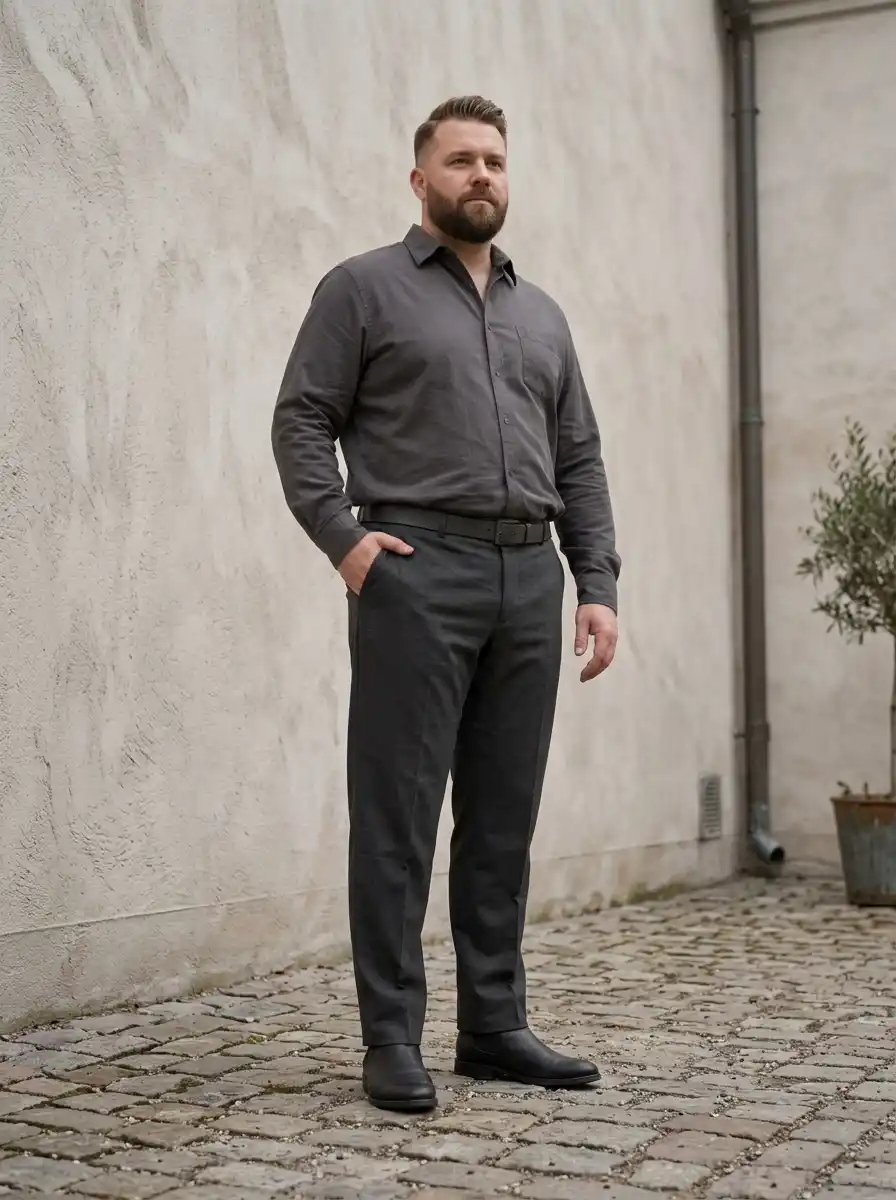
Two colors in strong contrast draw a hard line across your middle and split you into a top half and a bottom half. On a shorter stocky build, that line does the most damage of anything in this guide.
Navy shirt over charcoal pants. Olive over brown. Grey over black. Close enough that the eye runs straight past the waistband without stopping.
Your belt follows the same rule — match it to the pants, not the shoes. A brown belt across dark navy pants is another line. A navy or near-black belt disappears.
Put your one bright color on top — a rust shirt, a teal polo, a deep green knit. Colour near the face pulls the eye up and away from the midsection. Save the dark neutrals for everything below the waist, where you want the eye to glide rather than stop.
Add one open layer with a straight, vertical hem
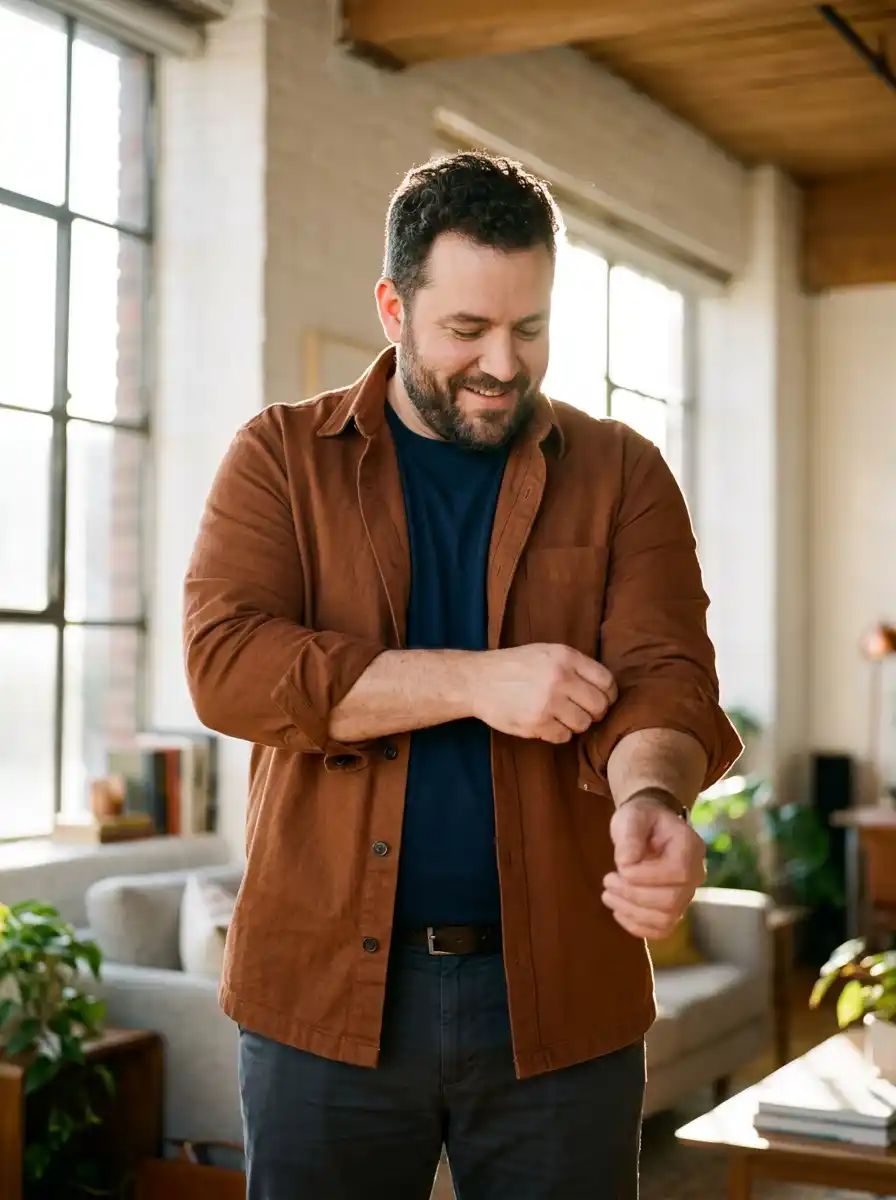
One layer. A shirt jacket, an unlined blazer, a cardigan — worn open, never buttoned.
The two front edges hang as a pair of vertical lines down your torso, and vertical lines narrow a broad frame the way nothing else in a wardrobe does.
Length is the thing people get wrong. The layer should finish at or slightly below the hem of your shirt — close enough that the two hems do not stack into a visible ladder.
Roll the sleeves to just below the elbow if the layer feels heavy. Showing forearm breaks up a solid block of fabric and keeps the whole outfit from reading as one wide shape.
Swap bulky shoes for a slim, low-profile pair
Chunky soles and round toes add width at the floor and make the leg above them look stubbier by comparison. Reach for a slimmer silhouette: leather sneakers with a thin sole, chelsea boots, or a clean derby.
Match the shoe to the pant colour where you can. A dark shoe under dark pants extends the leg line all the way to the ground instead of cutting it at the ankle. Light shoes under dark pants stop the eye cold.
If the boot has a half-inch to one-inch heel, take it — the lift is real and nobody can see it.
Step back six feet and photograph the full outfit
The mirror lies at close range. You look down at yourself, the angle shortens your legs, and you miss the proportions entirely. A photo from across the room shows you what everyone else sees.
Prop your phone at chest height, set the timer for 10 seconds, and stand 6 feet back with your arms relaxed at your sides. Take one from the front and one from a slight angle.
Then check four things in the photo: where the shirt hem lands, whether the shoulder seams sit flat, how many folds are at the ankle, and whether the waistband is visible at all.
Anything that fails goes back a step. Save the photo that works — it becomes your reference for every outfit you build after this one.
Thin ones, yes, but they do far less than people claim. The open layer from Step 8 narrows you more than any striped shirt will. Wide stripes add width — skip those.
Yes. Hem them to land 1 to 2 inches above the knee. Longer shorts cover the leg and shrink the one part of you that adds height.
The opposite. Tight fabric clings to every curve and advertises it. Buy for your shoulders and chest, then have the waist taken in.
Go single-breasted with two buttons and a slightly higher button stance. Double-breasted adds a horizontal band across the middle on a shorter frame.
Around $60 to $100 takes three or four pieces from almost-right to right. That beats buying two new outfits that fit the same way the old ones did.
Final Thoughts
You have a full outfit on, built from your own numbers instead of a size chart.
The pieces did not change. Where they sit on you did — and that is the whole trick to how to dress a stocky build men are usually told to hide rather than fit.
Next weekend, take your three best-fitting pants to a tailor and get the hems and waists done in one trip. Everything you own will look better the following week.
Pin this one so it is waiting when you open your closet on Saturday morning.